
A site is the actual place you do the work - a house, a building, a shop. A job always happens at a site, and a site always belongs to a contact. Adding the site (with its location) is what puts your work on the Operations map.
Before you start
- The client must already exist. If they don't, add them first.
Steps
1. Open the client and add a site
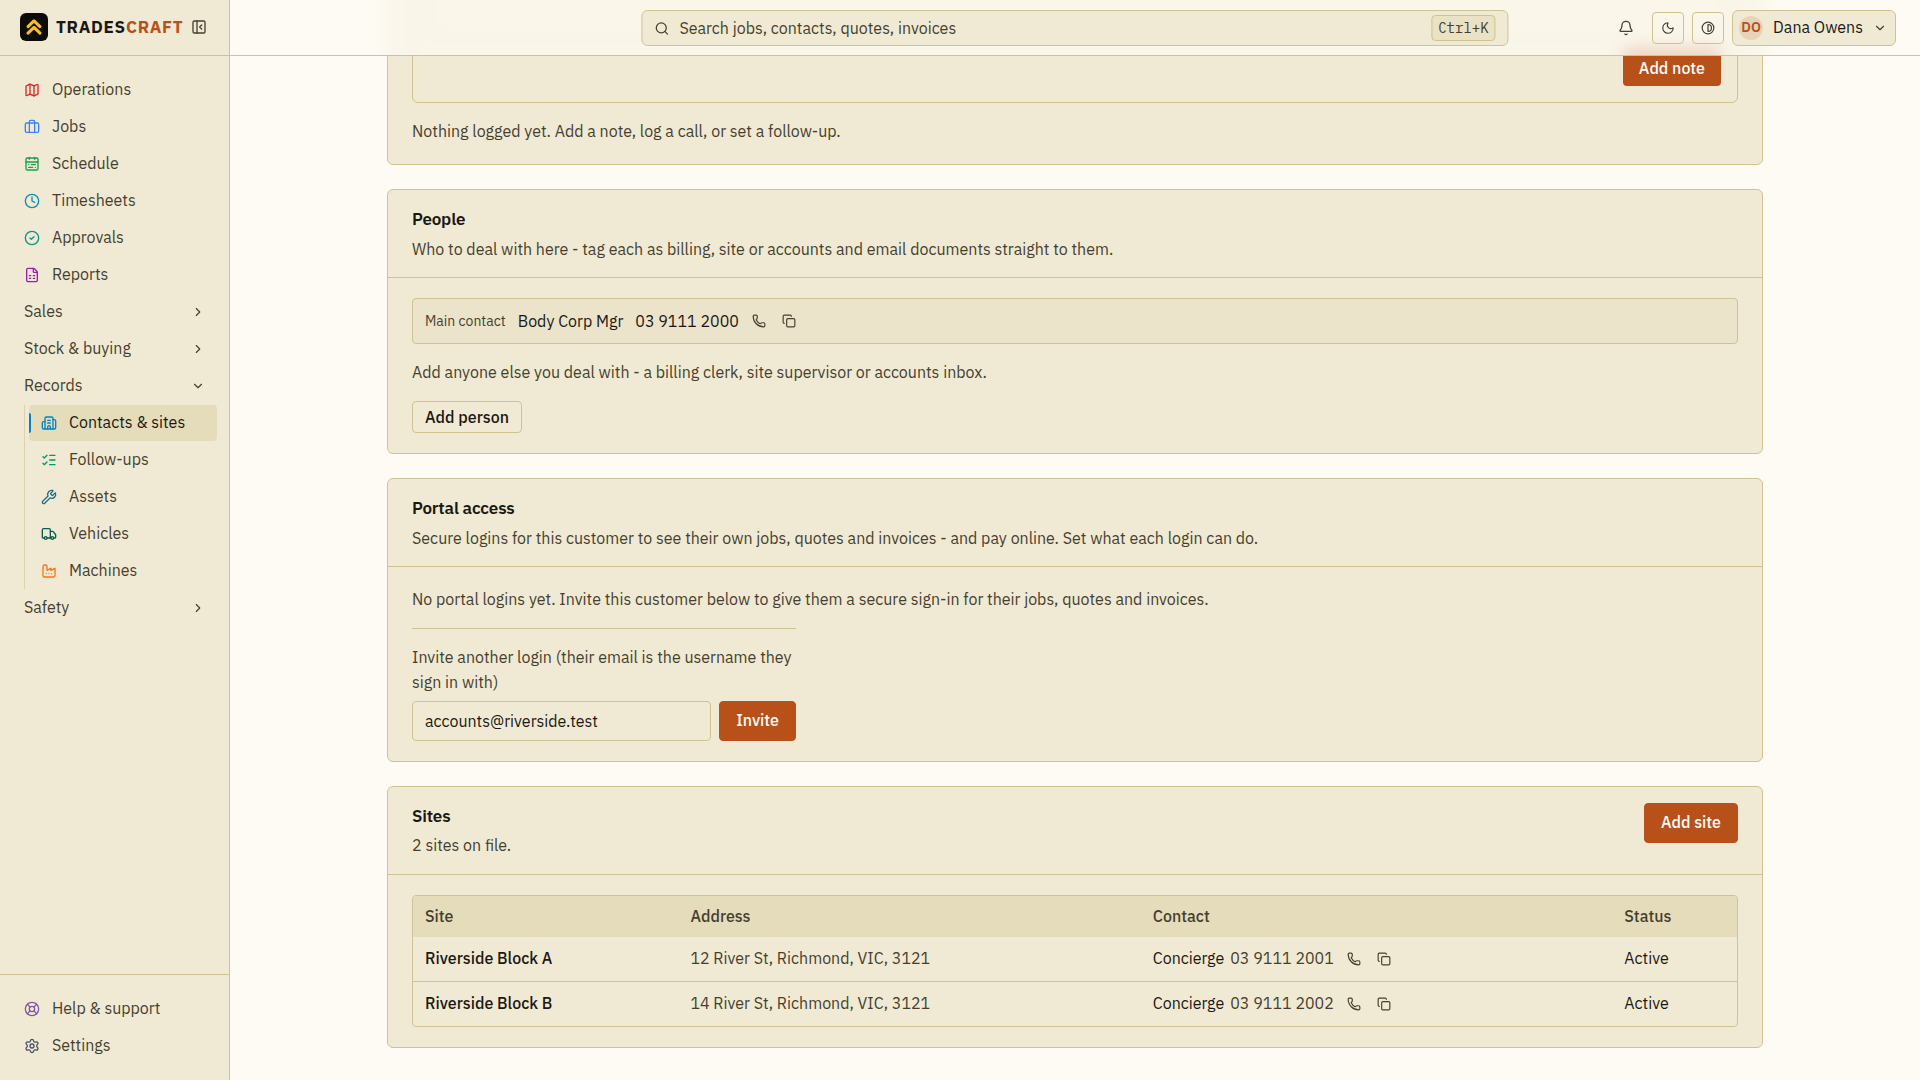
On the client's details page, find the Sites section and tap Add site.
2. Name the site
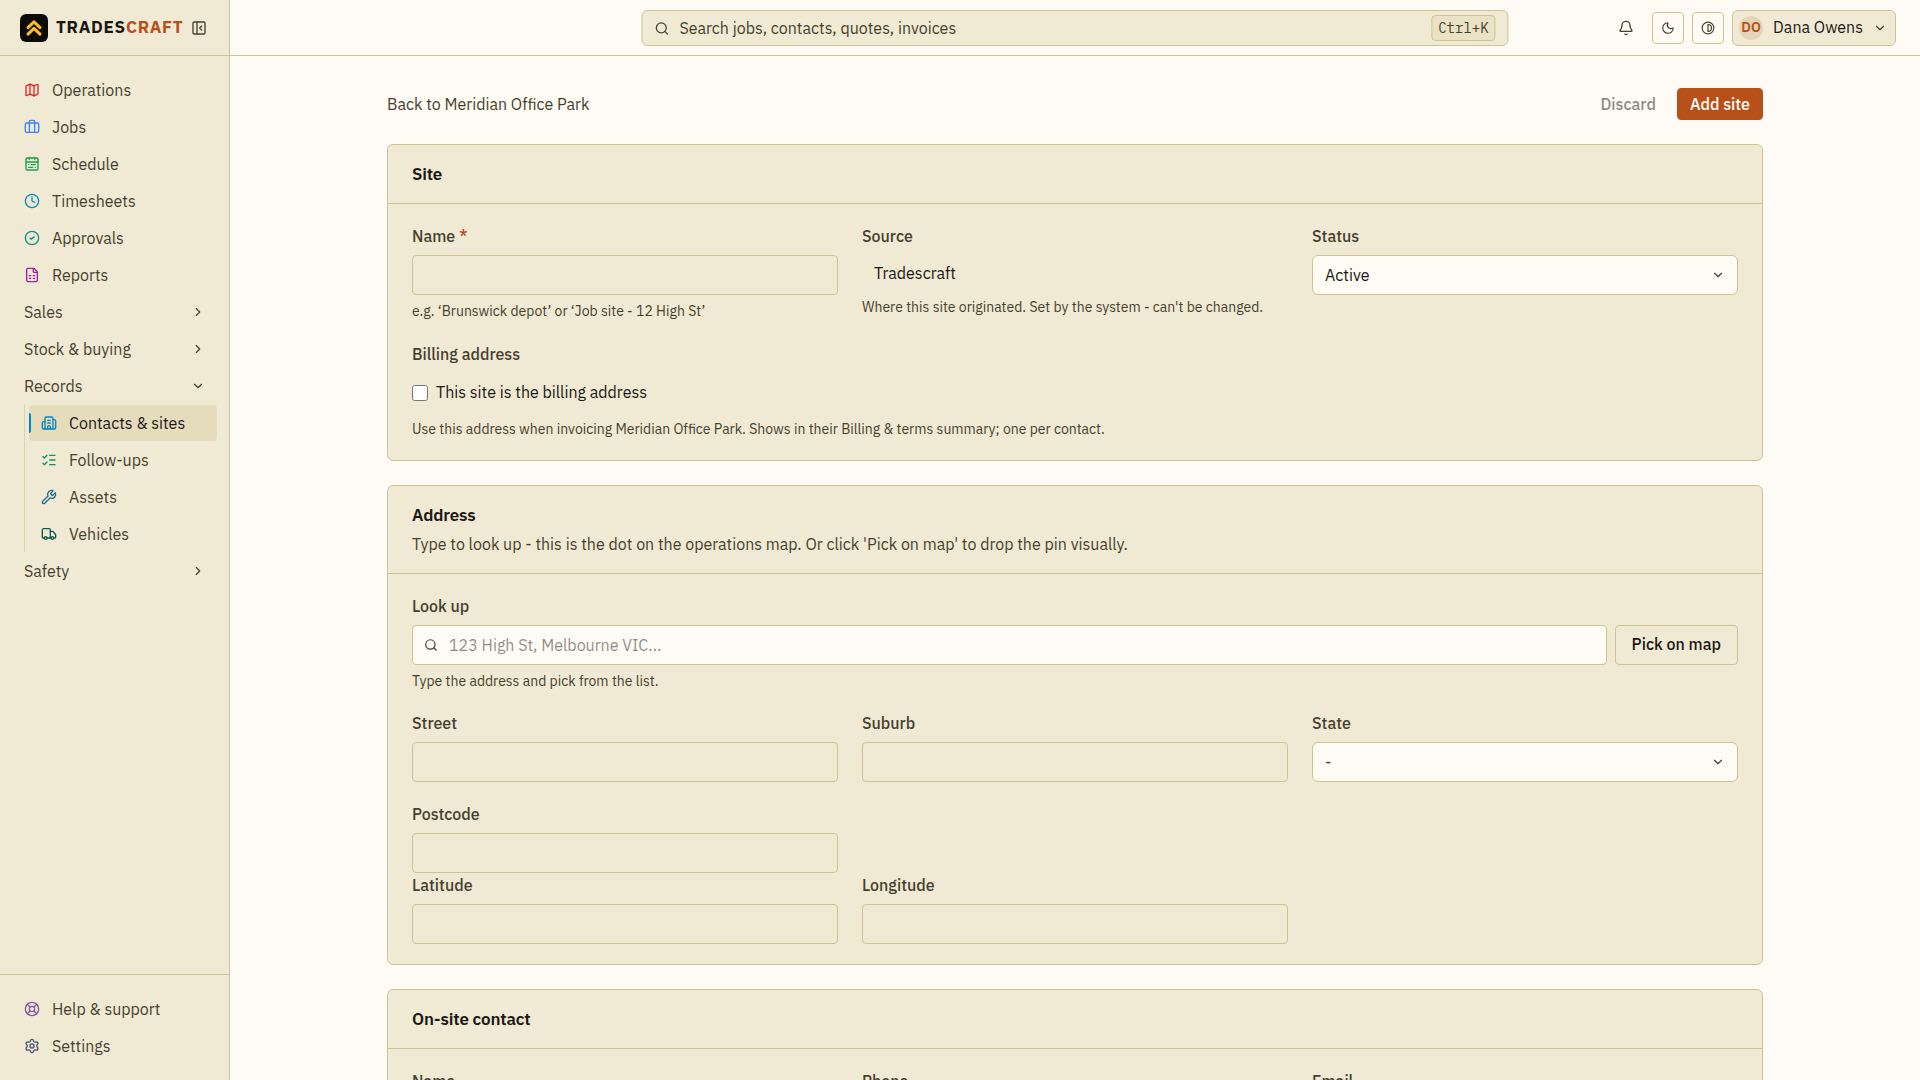
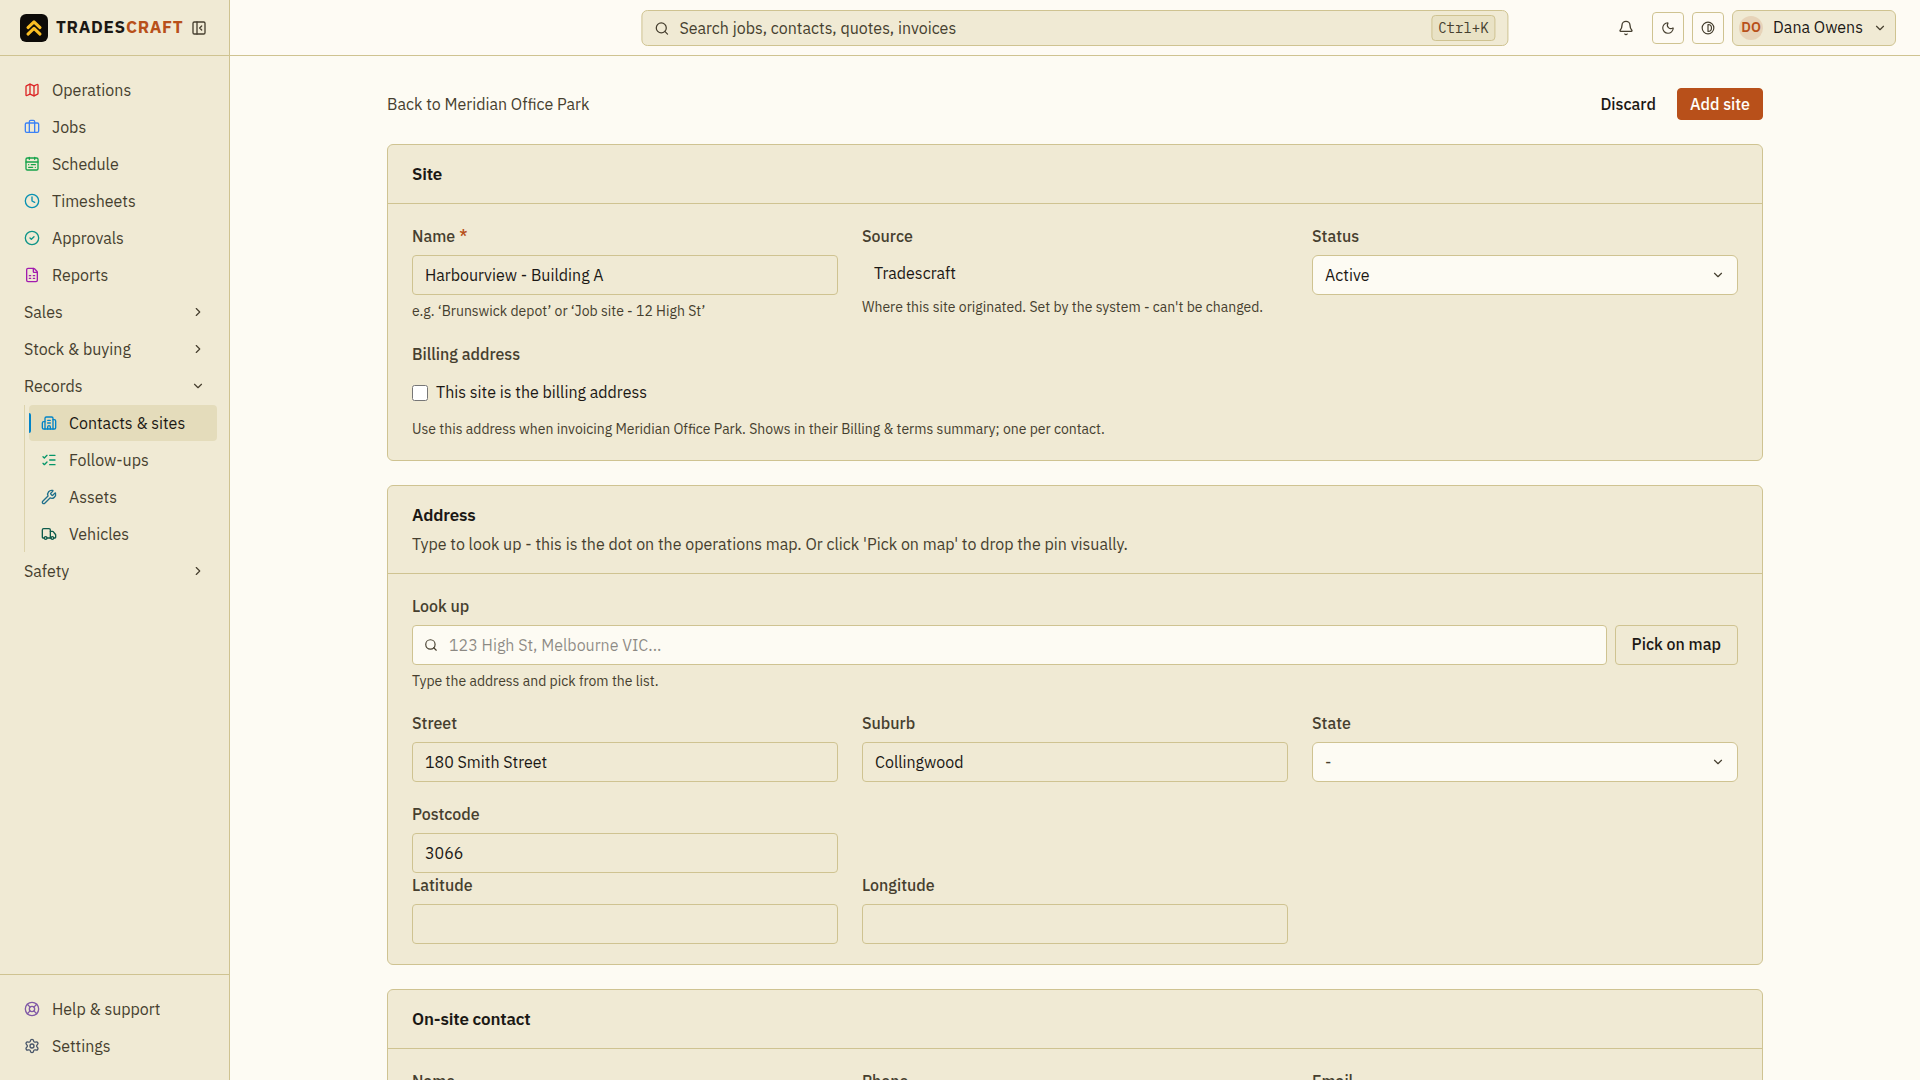
Give it a Name that you'll recognise (e.g. "Harbourview - Building A", or just the street address). Leave the Status on Active. Tick This site is the billing address only if this is the address to use for the customer's bills. Leave it unticked if invoices belong at another address, such as head office.
3. Set the location
Type the address into Look up and pick it from the list - that fills the street, locality/city, state/region, postcode/ZIP code and the map pin for you. US accounts use the State dropdown rather than a free-text AU/NZ region. You can also type the address by hand, or tap Pick on map to drop the pin exactly where the job is (handy for big sites, rural blocks or new builds with no street number yet).
The Latitude / Longitude are the map coordinates. Getting these right is what makes the site show up in the right spot on Operations and lets dispatch find the nearest worker.
4. Add on-site details and save
Optionally add the on-site contact (the person to meet there) and access notes (gate codes, parking, dogs). Tap Add site.
The site now appears under the client, ready to book jobs against.
Tips
- One client, many sites: a real-estate manager or a builder might have dozens. Name them clearly so they're easy to pick when you create a job.
- No street address yet? Use Pick on map to place the pin.