
Click any contact in the list to open their details. We'll walk it section by section.
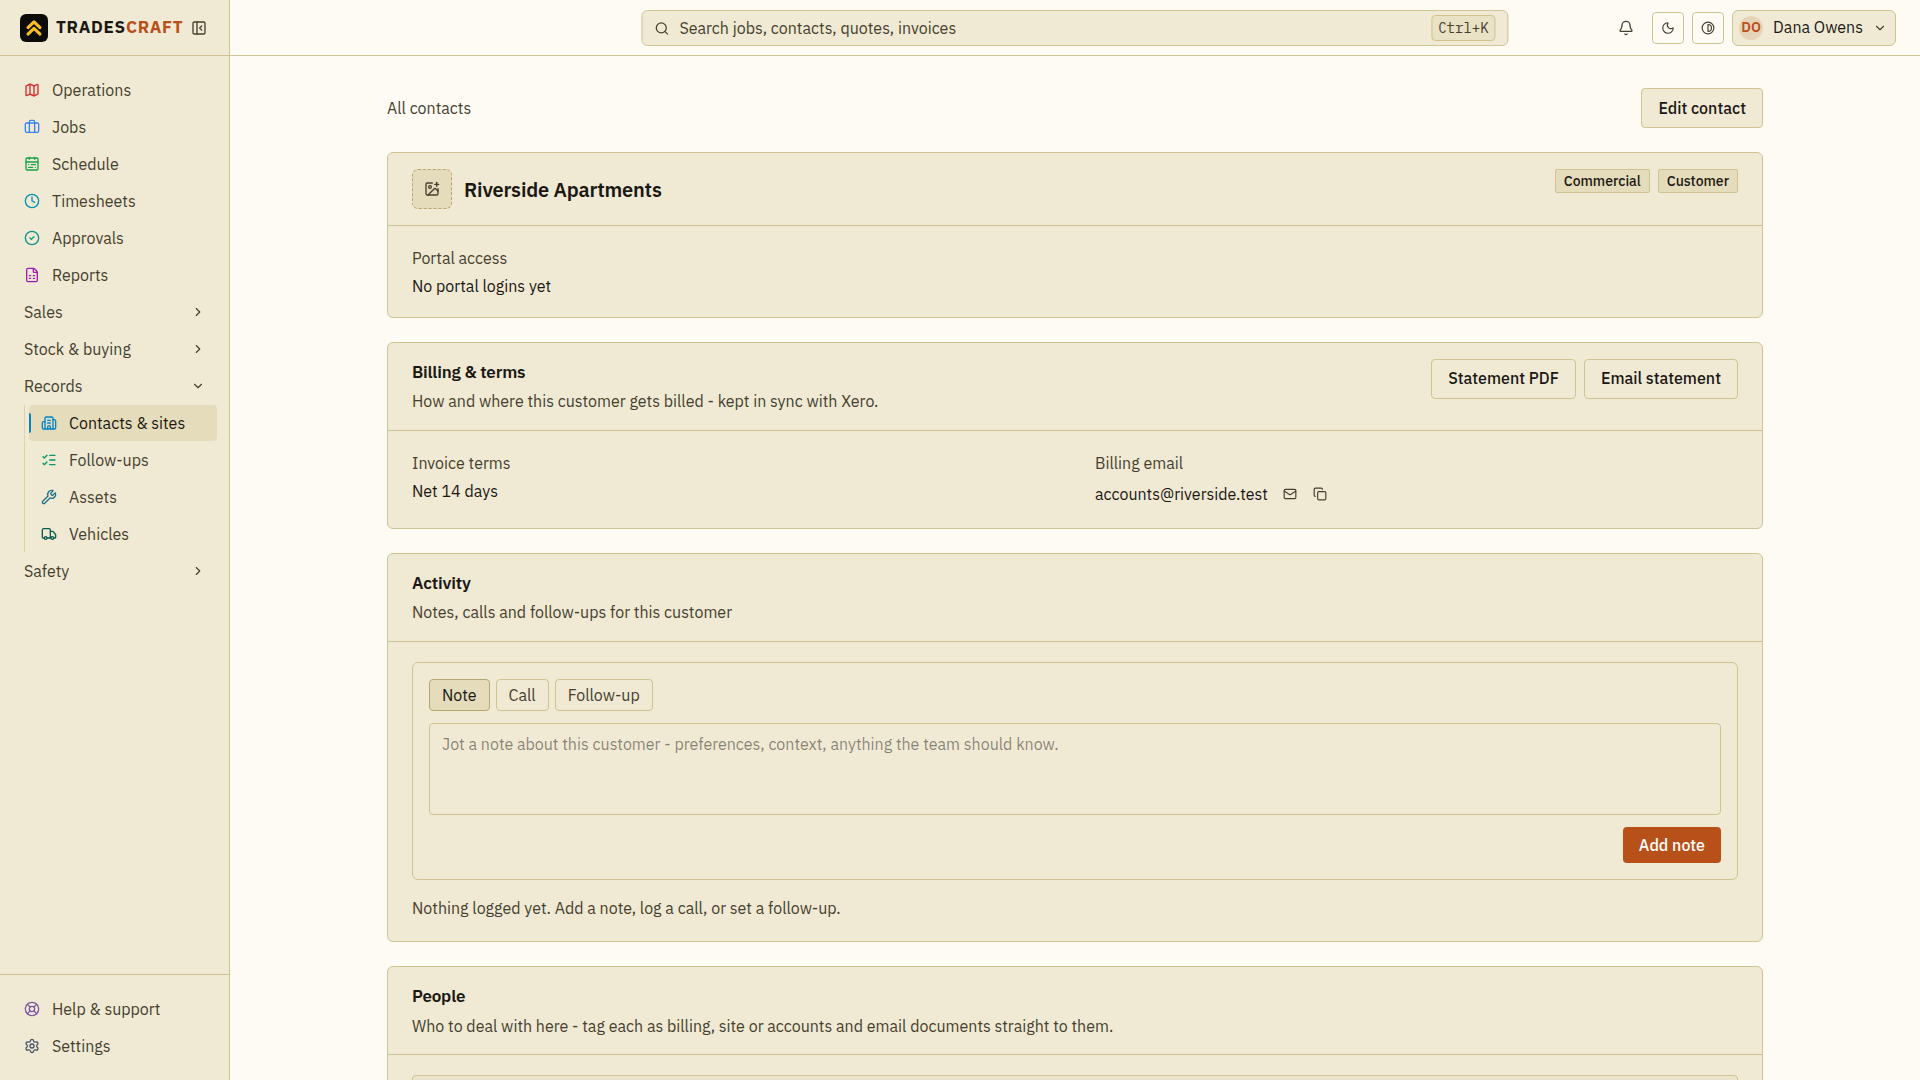
Header
The contact's name and type (Commercial / Residential), with Edit contact top-right (see Edit a client).
Addresses
Their business and postal addresses - where they are and where mail goes.
Billing & terms
The invoice terms (e.g. Net 14 days) and the billing email. AU/NZ accounts can keep these in sync with Xero. Email statement sends the customer a currency-labelled summary of what they owe.
Recipient created tax invoices (RCTI)
For an Australian supplier you pay (a subbie), the business owner can confirm that the current recipient-created tax invoice rules are met. This means both businesses are GST-registered, you have the required written agreement, and your business determines the value of the supply. The supplier must also have a valid ABN on their contact.
Tap Confirm eligibility only after checking those facts. This unlocks Issue RCTI on qualifying Subcontractor payments to that supplier. Remove eligibility switches it off again. Older agreement-only records show that eligibility needs reconfirmation and cannot produce a new RCTI until the owner reviews them. This section only appears for contacts marked as suppliers and is only available to Australian GST-registered businesses.
Activity - notes, calls and follow-ups
- Choose Note, Call or Follow-up under Activity.
- Write the update or the action needed. For a Follow-up, also choose its Due date; it cannot be saved without one.
- Choose Add note, Add call or Add follow-up, matching the tab.
- Wait for the confirmation and check the new entry in the history, with the correct date and author. The history is shared with your team.
Need to fix a typo or move a follow-up's date? Edit or Delete an entry you logged from the buttons beneath it.
People - who you deal with
Tag each person you deal with at this customer (site supervisor, accounts clerk, the boss). Tap Add person and fill in their name, role, email, mobile and phone, then Add. Tagging people lets you send the right documents to the right person.
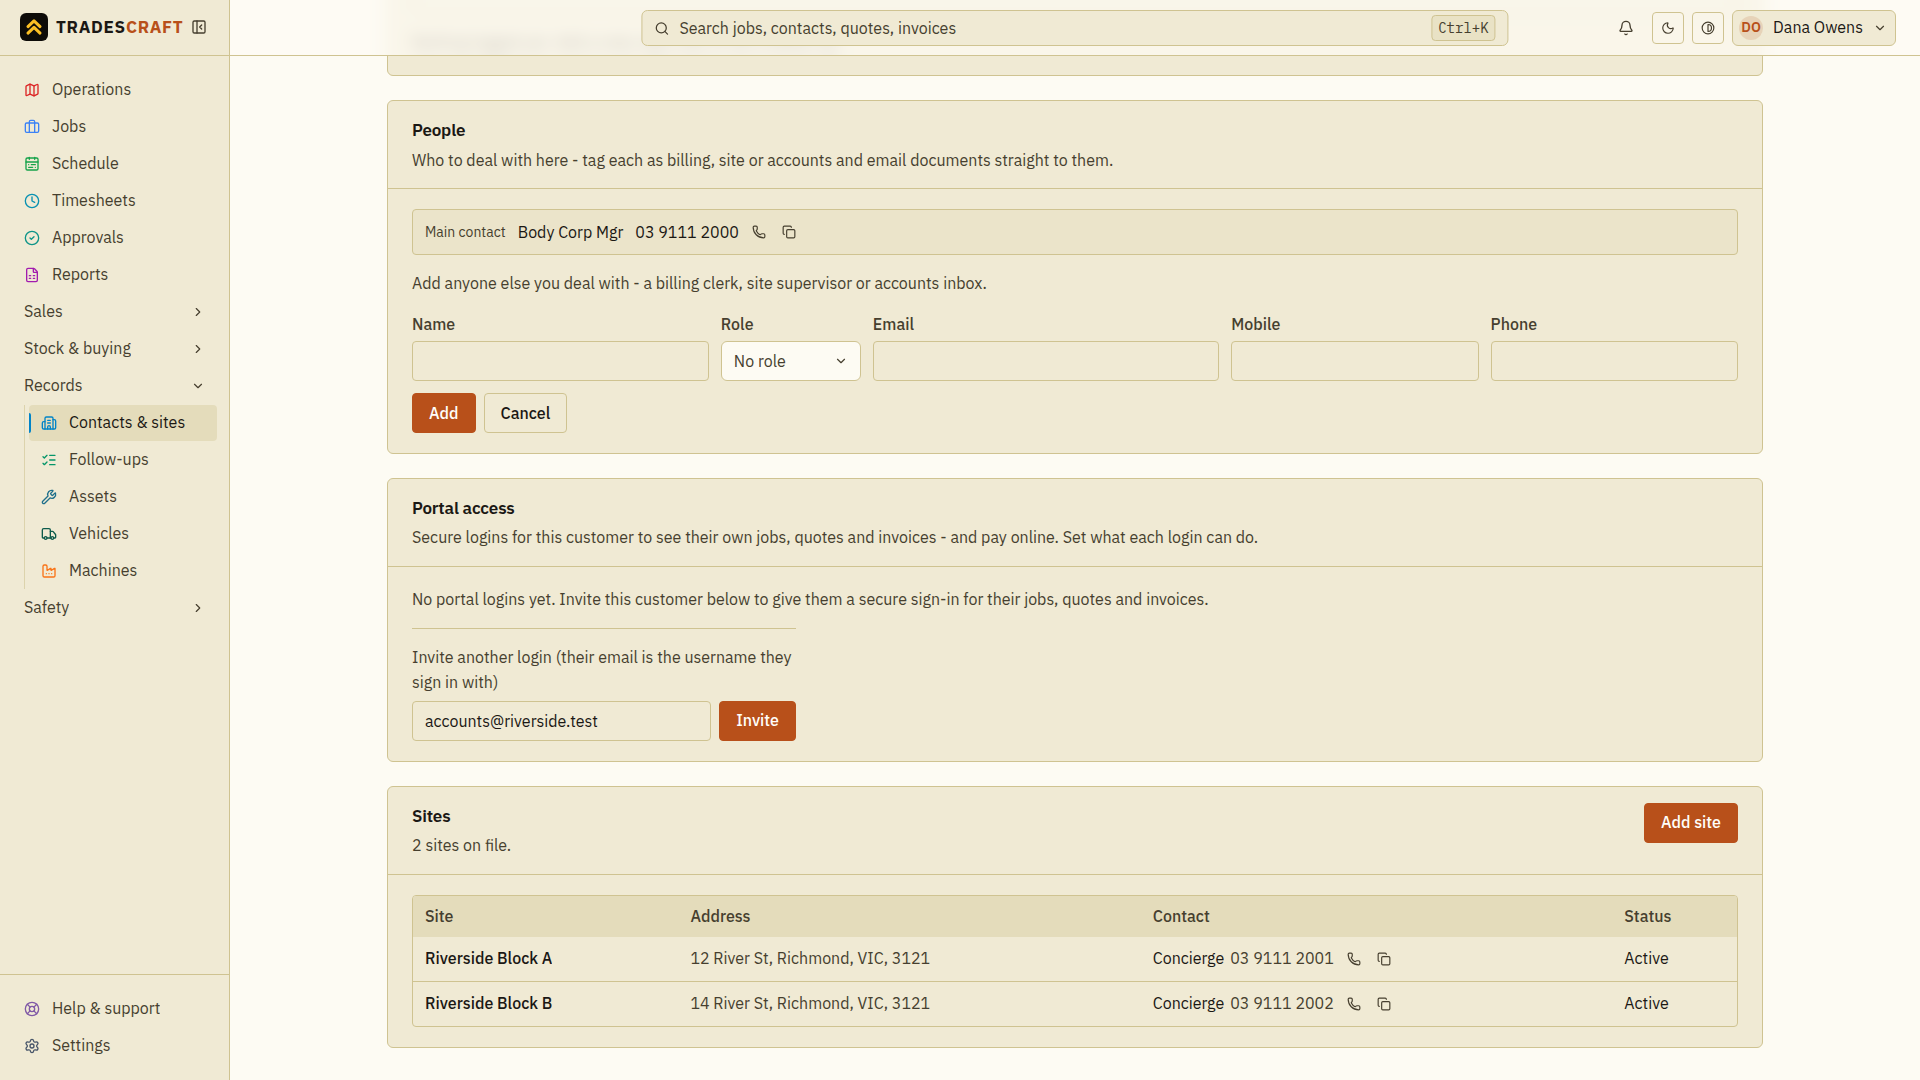
Portal access - give the customer a login
Invite the customer to a secure portal where they see their own jobs, quotes and invoices and can pay online. Enter their email under Invite another login and tap Invite. Wait for the queued-delivery or connection-request message. Use that login's View invoices, View quotes, View jobs and Pay invoices online switches to control access. Site restrictions and access removal are explained in Customer portal settings.
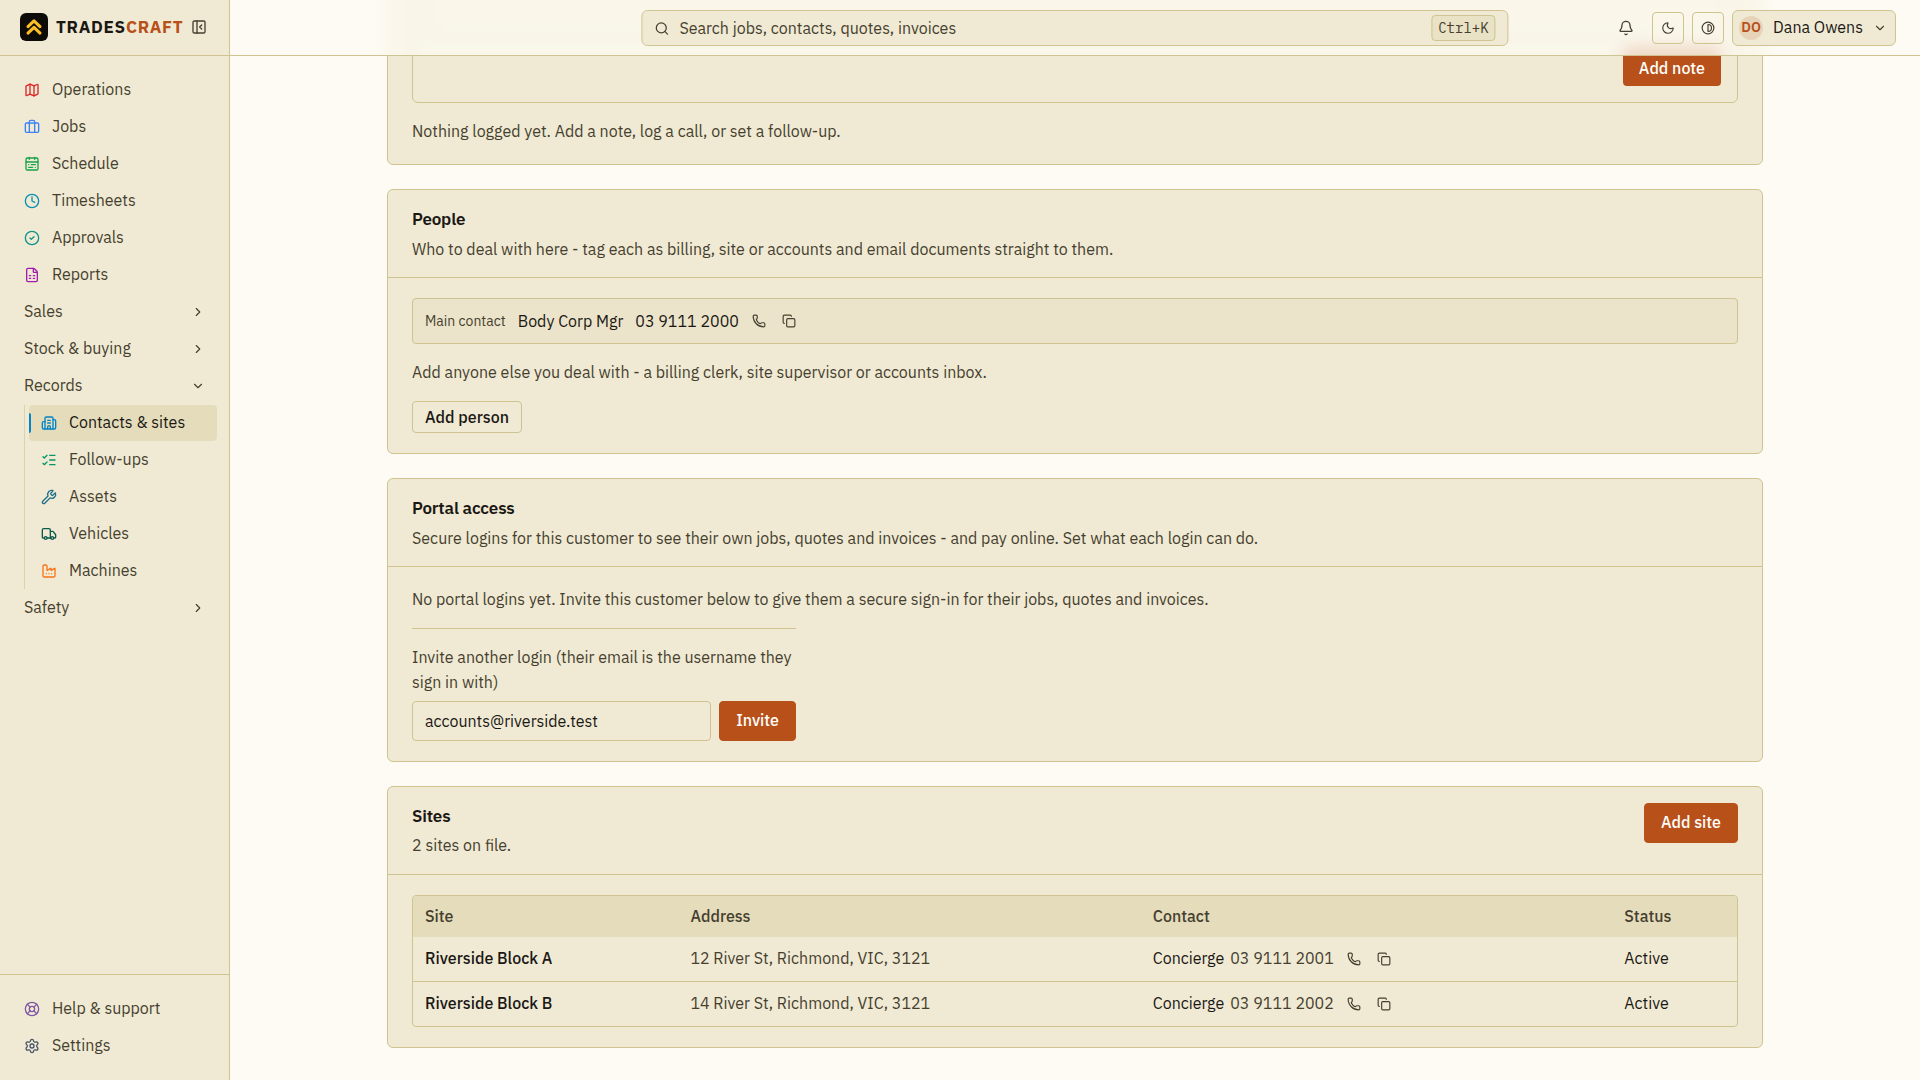
Sites - where the work happens
Every address you do work at for this customer, with its status. Tap Add site to add one (see Add a site). A job is always booked against one of these sites.
If adding a person fails, correct the fields shown in the error and try again. After adding one, check their contact details in People before selecting them as a document recipient. Adding a person does not itself give them a portal login.