
Before you start
- Add the customer first, then add their site (the address where the work will happen). You must choose both when creating a job. If either is missing, follow Add a client and Add a site before starting this form.
Open the new-job form
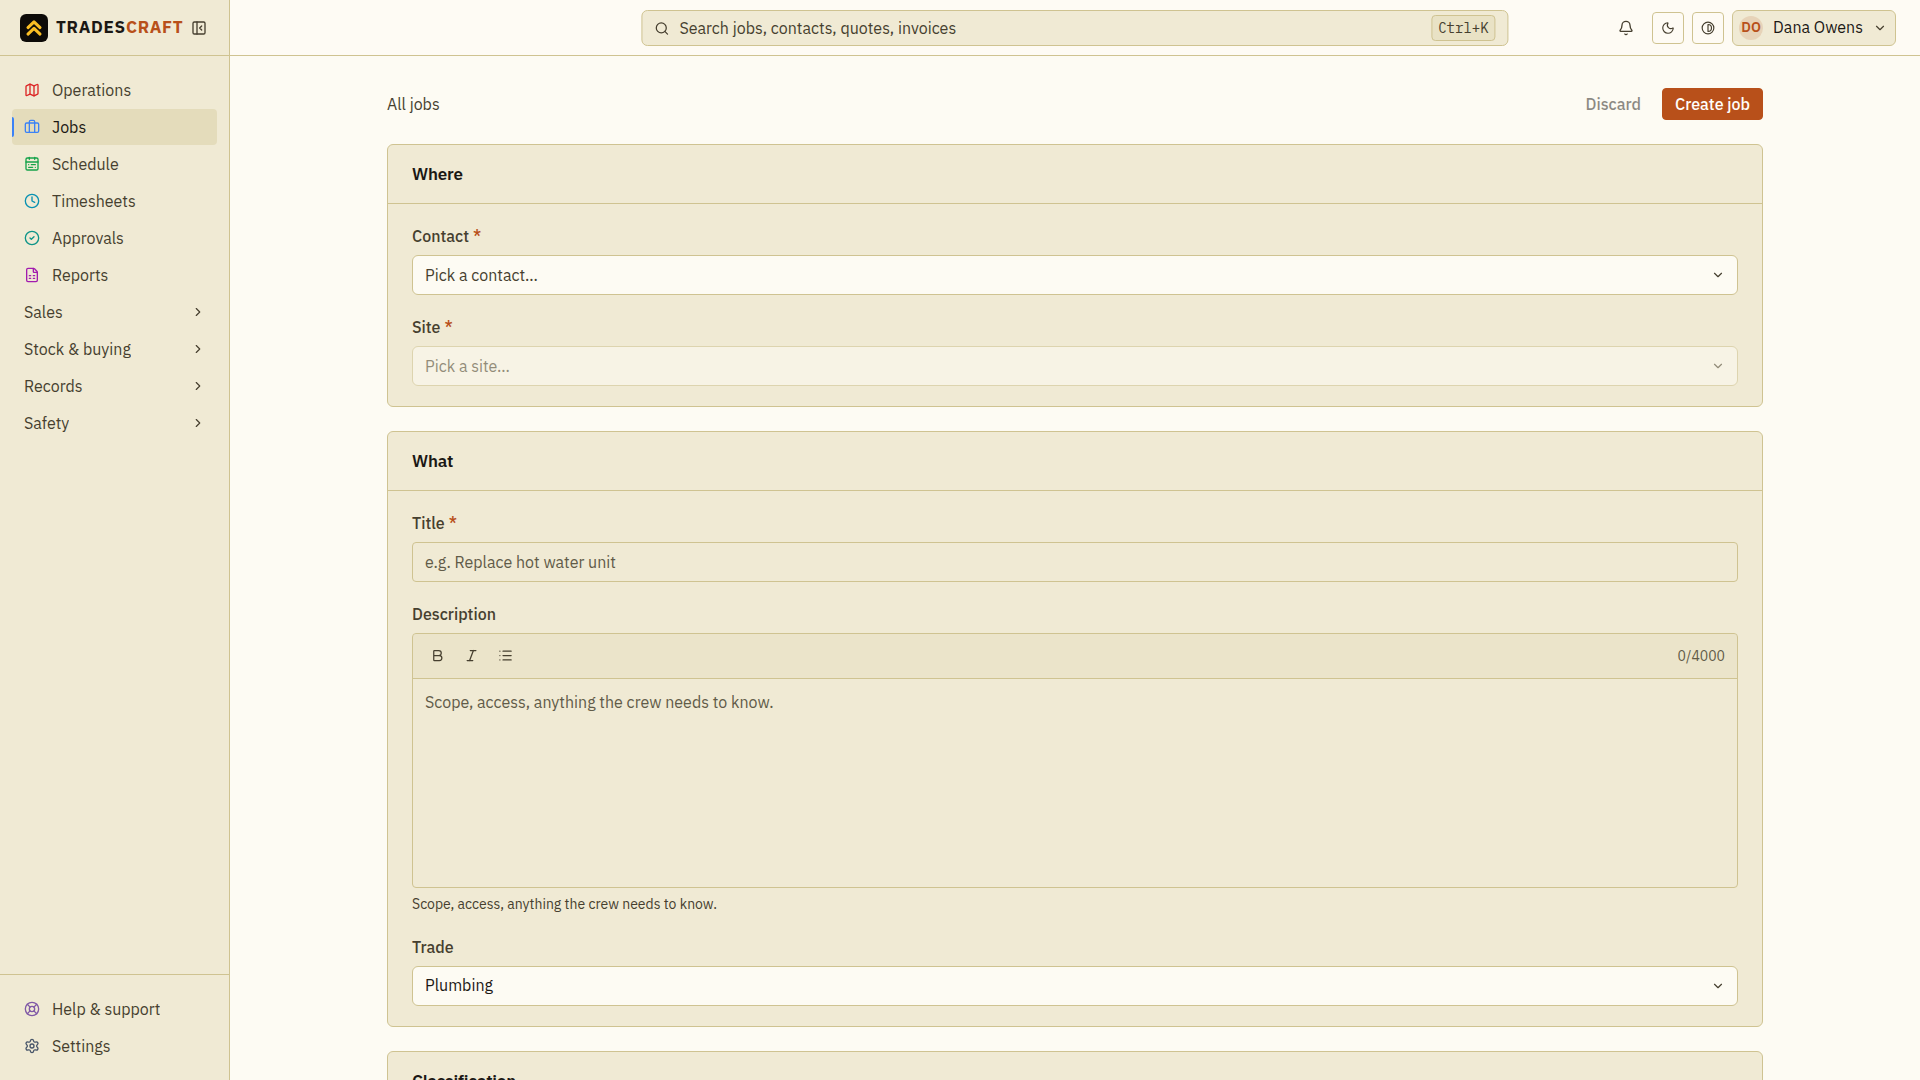
Tap New job on the Jobs list, or New job on the Operations map. The form is split into four sections: Where, What, Classification and Quote.
Where: pick the customer and site
Tap the Contact box. A searchable list drops down - start typing a name, phone or address to filter it, then pick the customer.
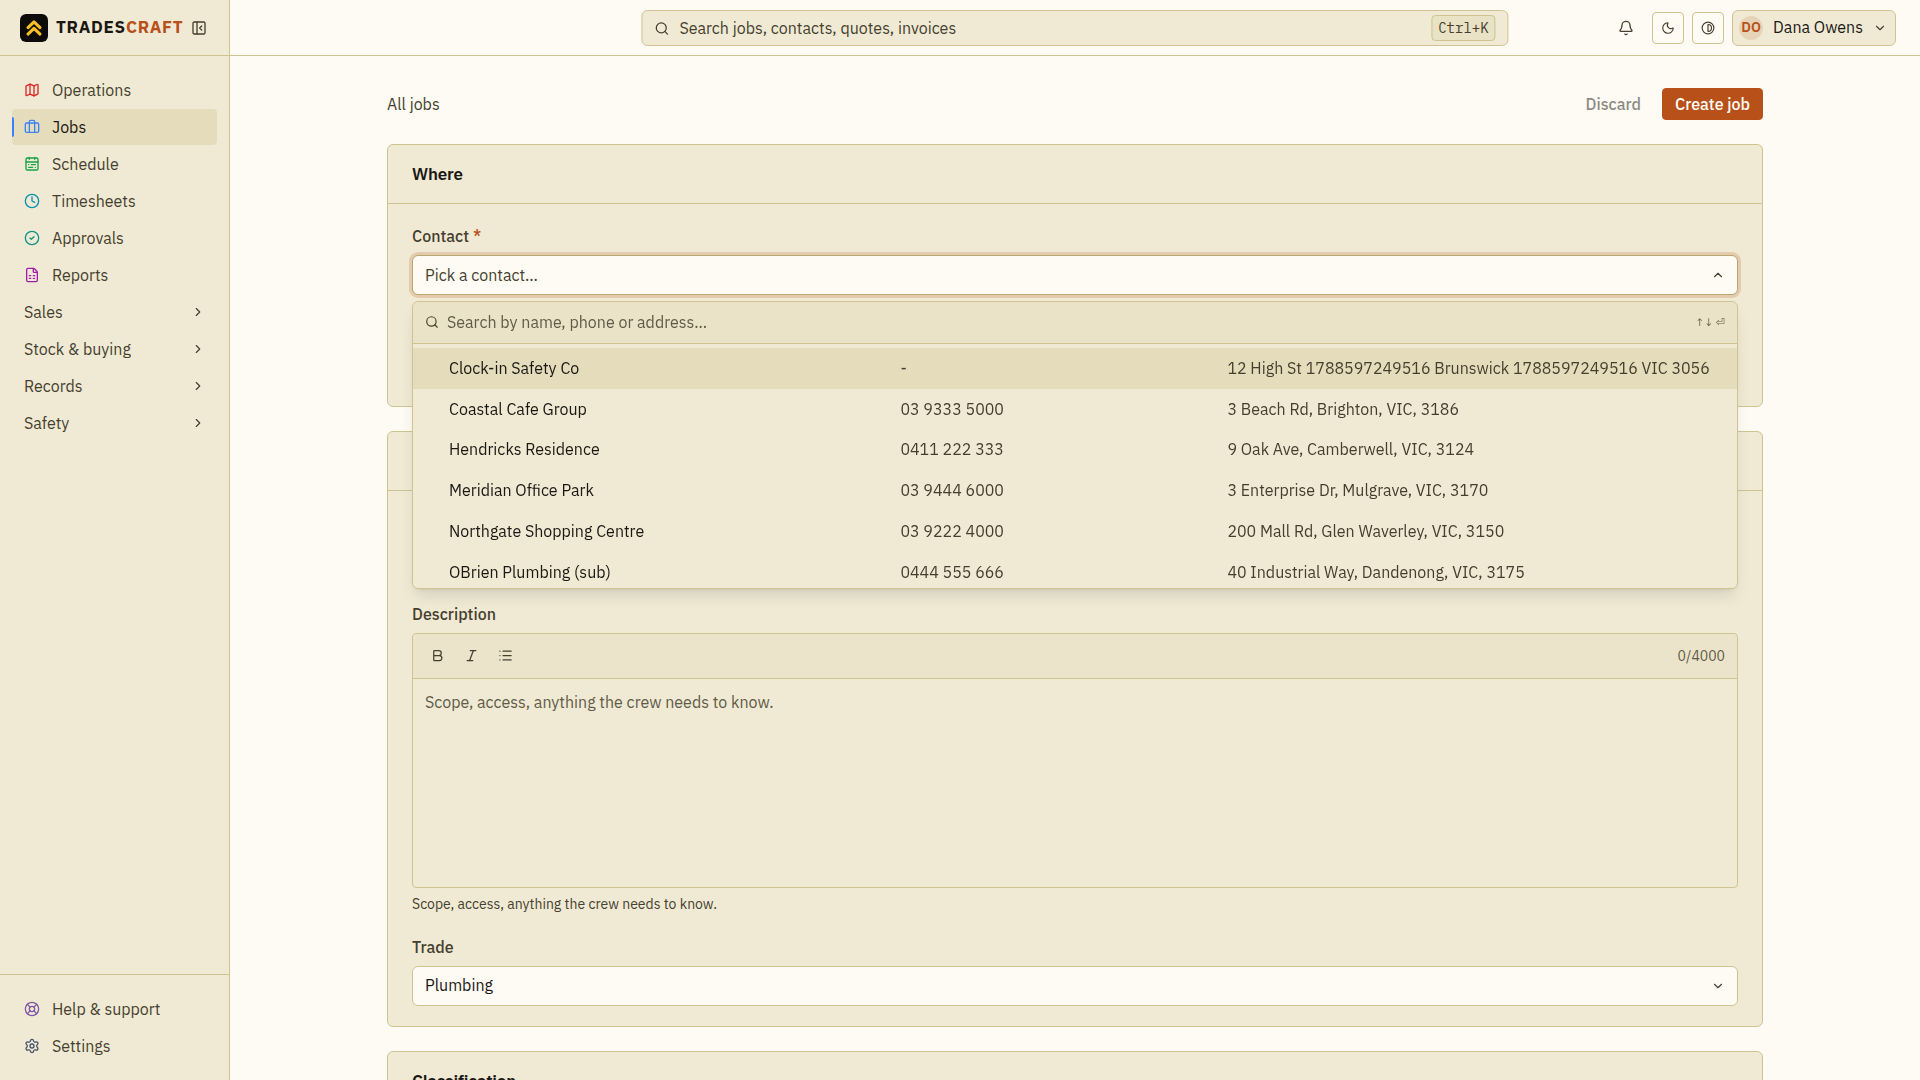
Once you choose a contact, the Site box fills with that customer's sites - pick the one the work is at. The site is what puts the job on the map and lets dispatch find the nearest worker.
What: describe the work
- Title (required) - a short name you'll recognise, e.g. "Replace leaking gate valve".
- Description - describe the work, how to get into the site and anything else the crew needs to know. Use the buttons above the box to make text bold, italic or a bullet list.
- Trade - which trade does the work (Plumbing, Gas, Electrical, HVAC…).
Classification: sort it for scheduling and reporting
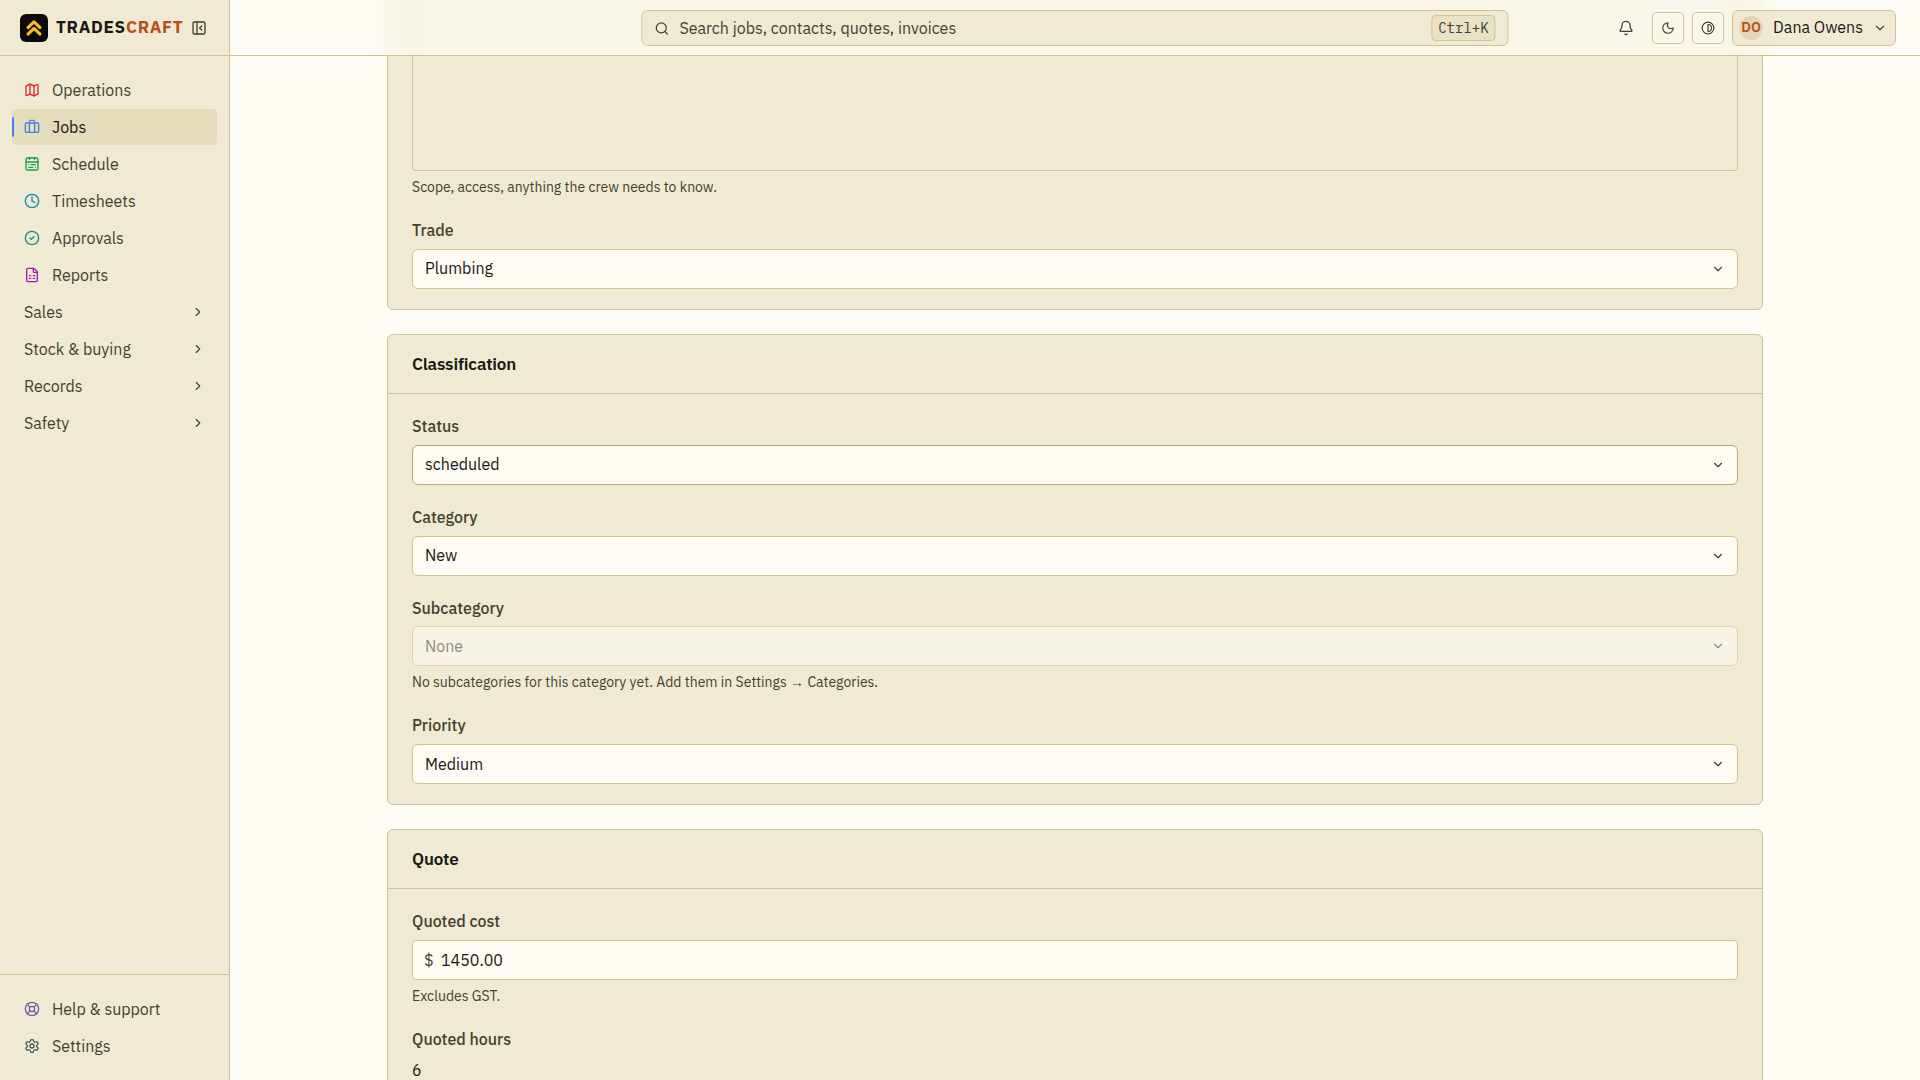
- Status - where the job's up to: scheduled, live (on the go), blocked (waiting on something), idle (logged, not started) or complete.
- Category - choose New, Reactive, Recurring or Project. Subcategory uses the labels your business adds under Settings → Categories; choose a category first to see its subcategories.
- Priority - Critical / High / Medium / Low. This drives the order work shows up in and how it's flagged.
Quote: set your estimate
- Quoted cost (before GST/sales tax) and Quoted hours - your estimate for the job. Tradescraft tracks the real logged hours and materials against these so you can see at a glance whether the job is on budget.
Save
Tap Create job. You land on the job's details page, ready to book a worker, log time and invoice it. AU/NZ accounts can also attach their country-specific JSA/SWMS/Task Analysis; that workflow is not shown to US accounts.
Check the saved job number, customer, site and status. Creating a job, even with a Scheduled status, does not assign a worker or reserve a time: use Dispatch a job to book that separately. If the form stays open, correct the problem described in the error message before trying again.
Tips
- No firm price yet? Leave Quoted cost at 0 and add it later - or win the work with a quote and convert it to a job, which carries the pricing across automatically.