
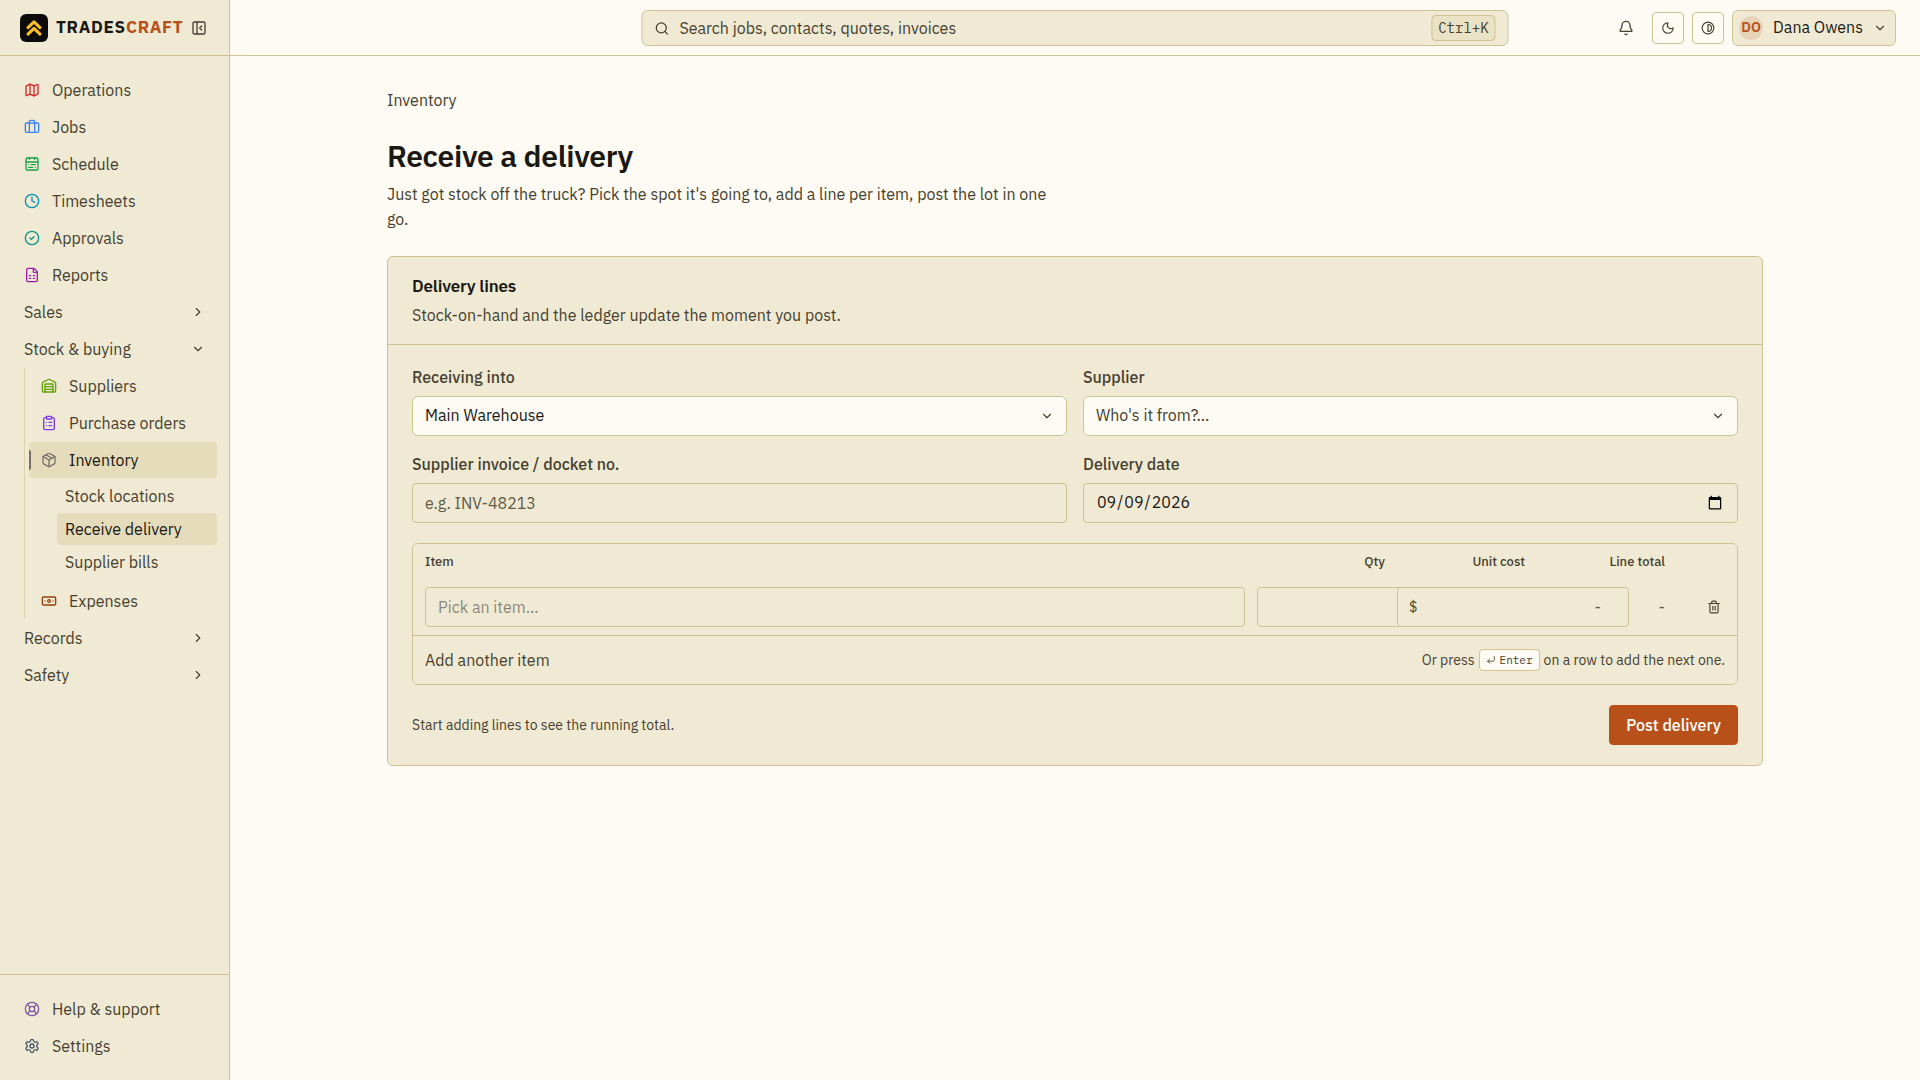
When parts arrive, receiving them adds to your stock on hand and records what came in, at what cost. Open it from Stock & buying → Inventory → Receive delivery.
Before you start
- The parts you're booking in need to exist as inventory items, and you need at least one storage location (a van or warehouse) to receive them into.
Choose what arrived
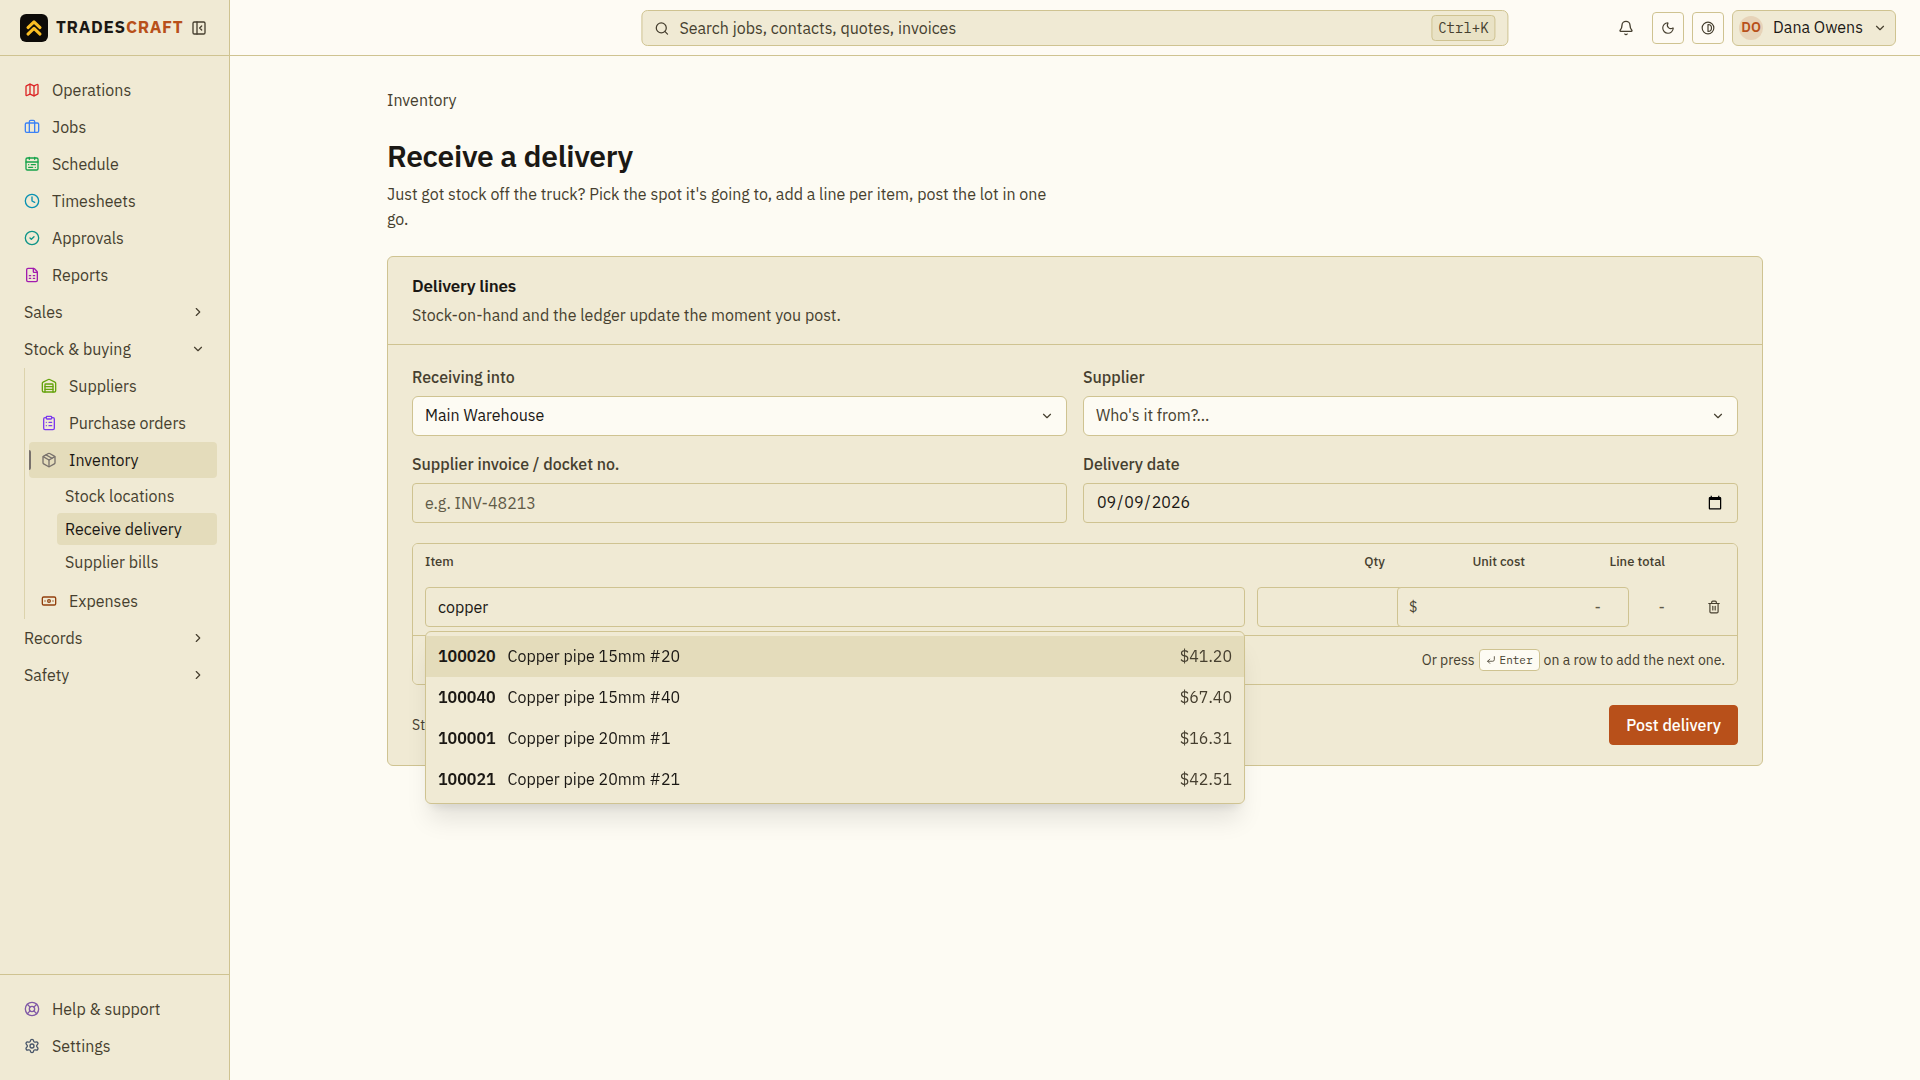
Set Receiving into (the van or warehouse it's going to), then add a line per item: start typing in the Item box and pick the part from your inventory.
Quantities and cost
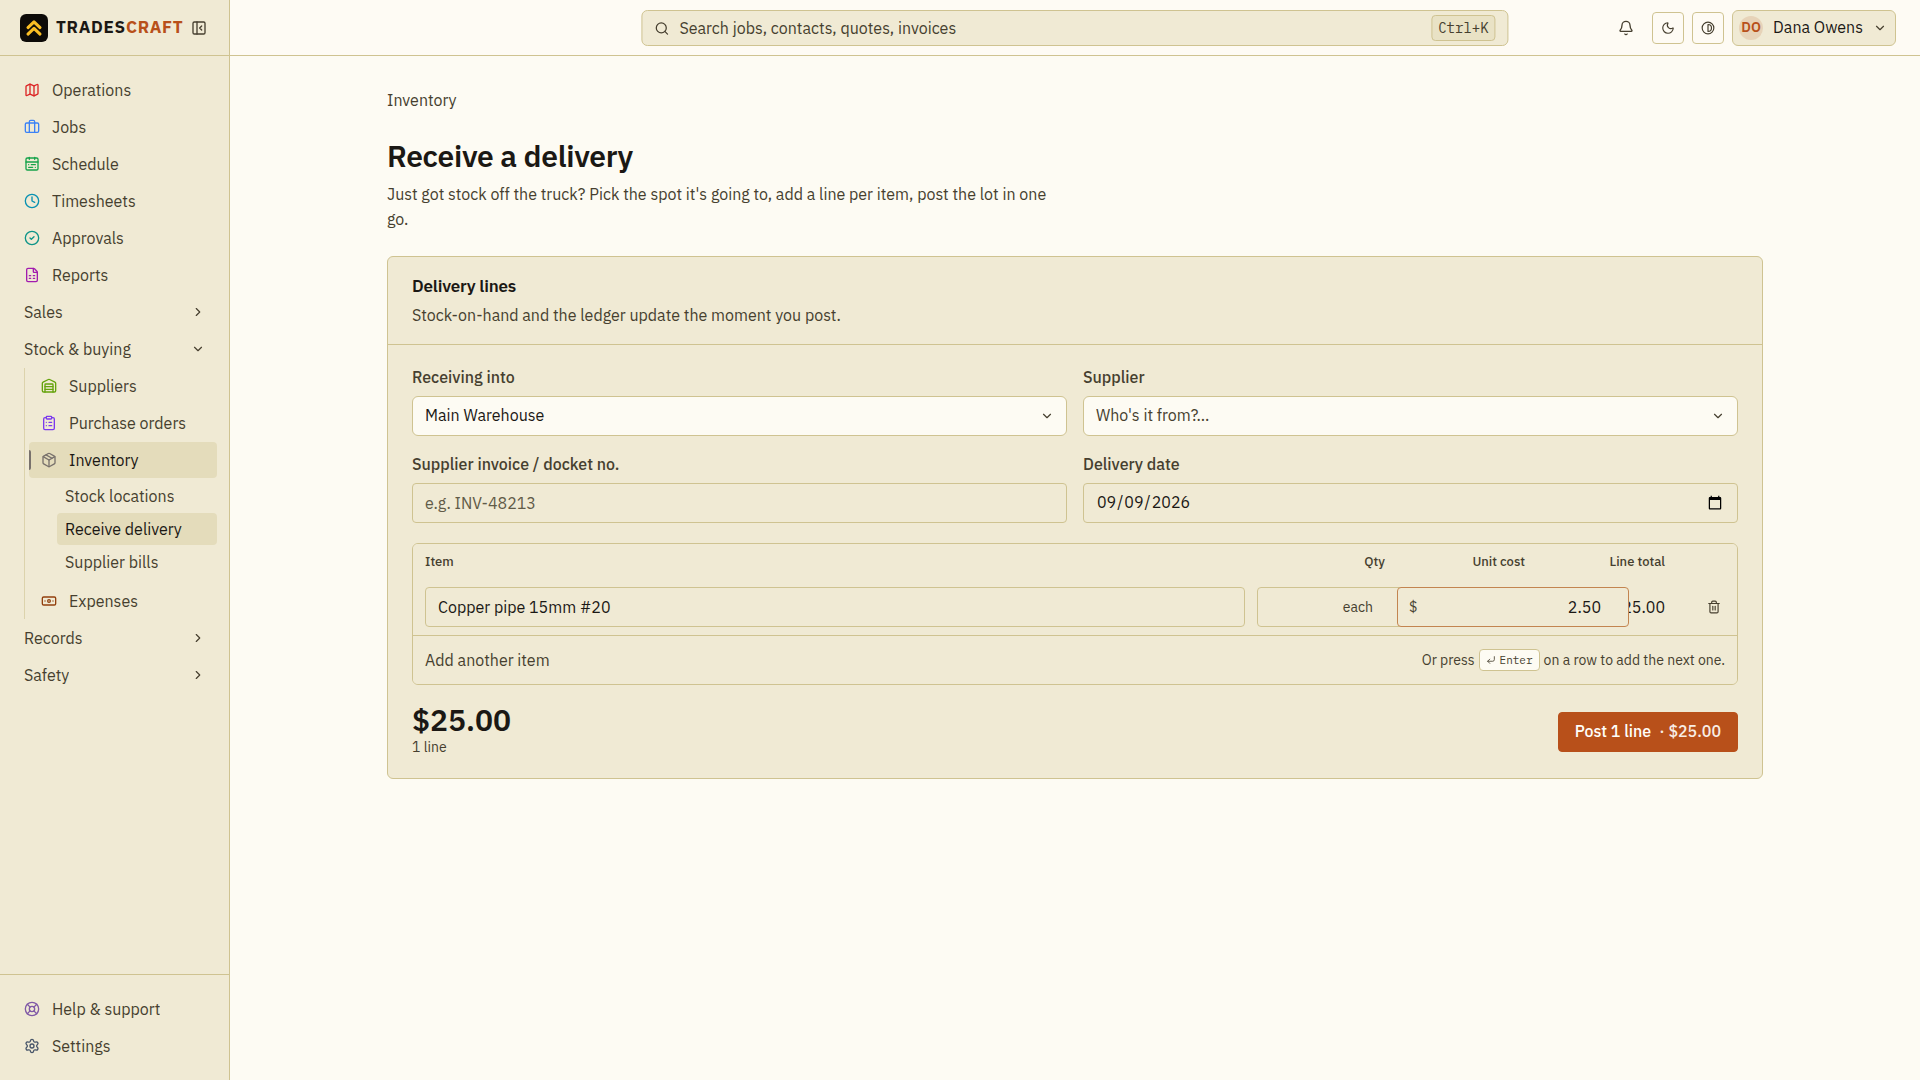
For each line, enter the quantity received and the unit cost (what one unit cost you). For example, 10 fittings at $2.50 each gives a line total of $25. Check the line totals and the delivery total at the bottom.
Optionally choose the supplier and their invoice / docket number so your stock valuation and supplier bills stay accurate. Use Add another item, or press Enter in the final row's Unit cost field, to add the next line.
If Also draft a bill in Xero is shown, tick it only when you want that bill; choose a supplier and enter each unit cost before posting. Check the queued bill separately in Xero.
Post it
Check Delivery date, the receiving location and every line against the docket. Choose the posting button at the bottom: it starts as Post delivery and shows Post 1 line, Post 2 lines, and so on as you add items. Post saves the delivery and adds the quantities to your stock. Wait for Received delivery and for the form's lines to clear before moving on.
Check the receipt
After posting, open the item and check its movement history and on-hand quantity at the receiving location. Include the delivery date and supplier reference so you can match the receipt to the docket later.
For goods already on a purchase order, use that order's Receive delivery workflow instead. Do not post the same delivery in both places. If posting fails or the connection drops, check the saved receipt before entering the goods again.