
An invoice tells a customer what they owe and when to pay. This guide starts a new invoice. You can also use Invoice this job on a finished job or Convert to Invoice on an accepted quote to bring across its details.
Before you start
- For a new invoice, the customer must already be in your contacts. Add the customer first if needed.
- When starting from a job or accepted quote, check the customer and charges copied across before saving.
Open the new-invoice form
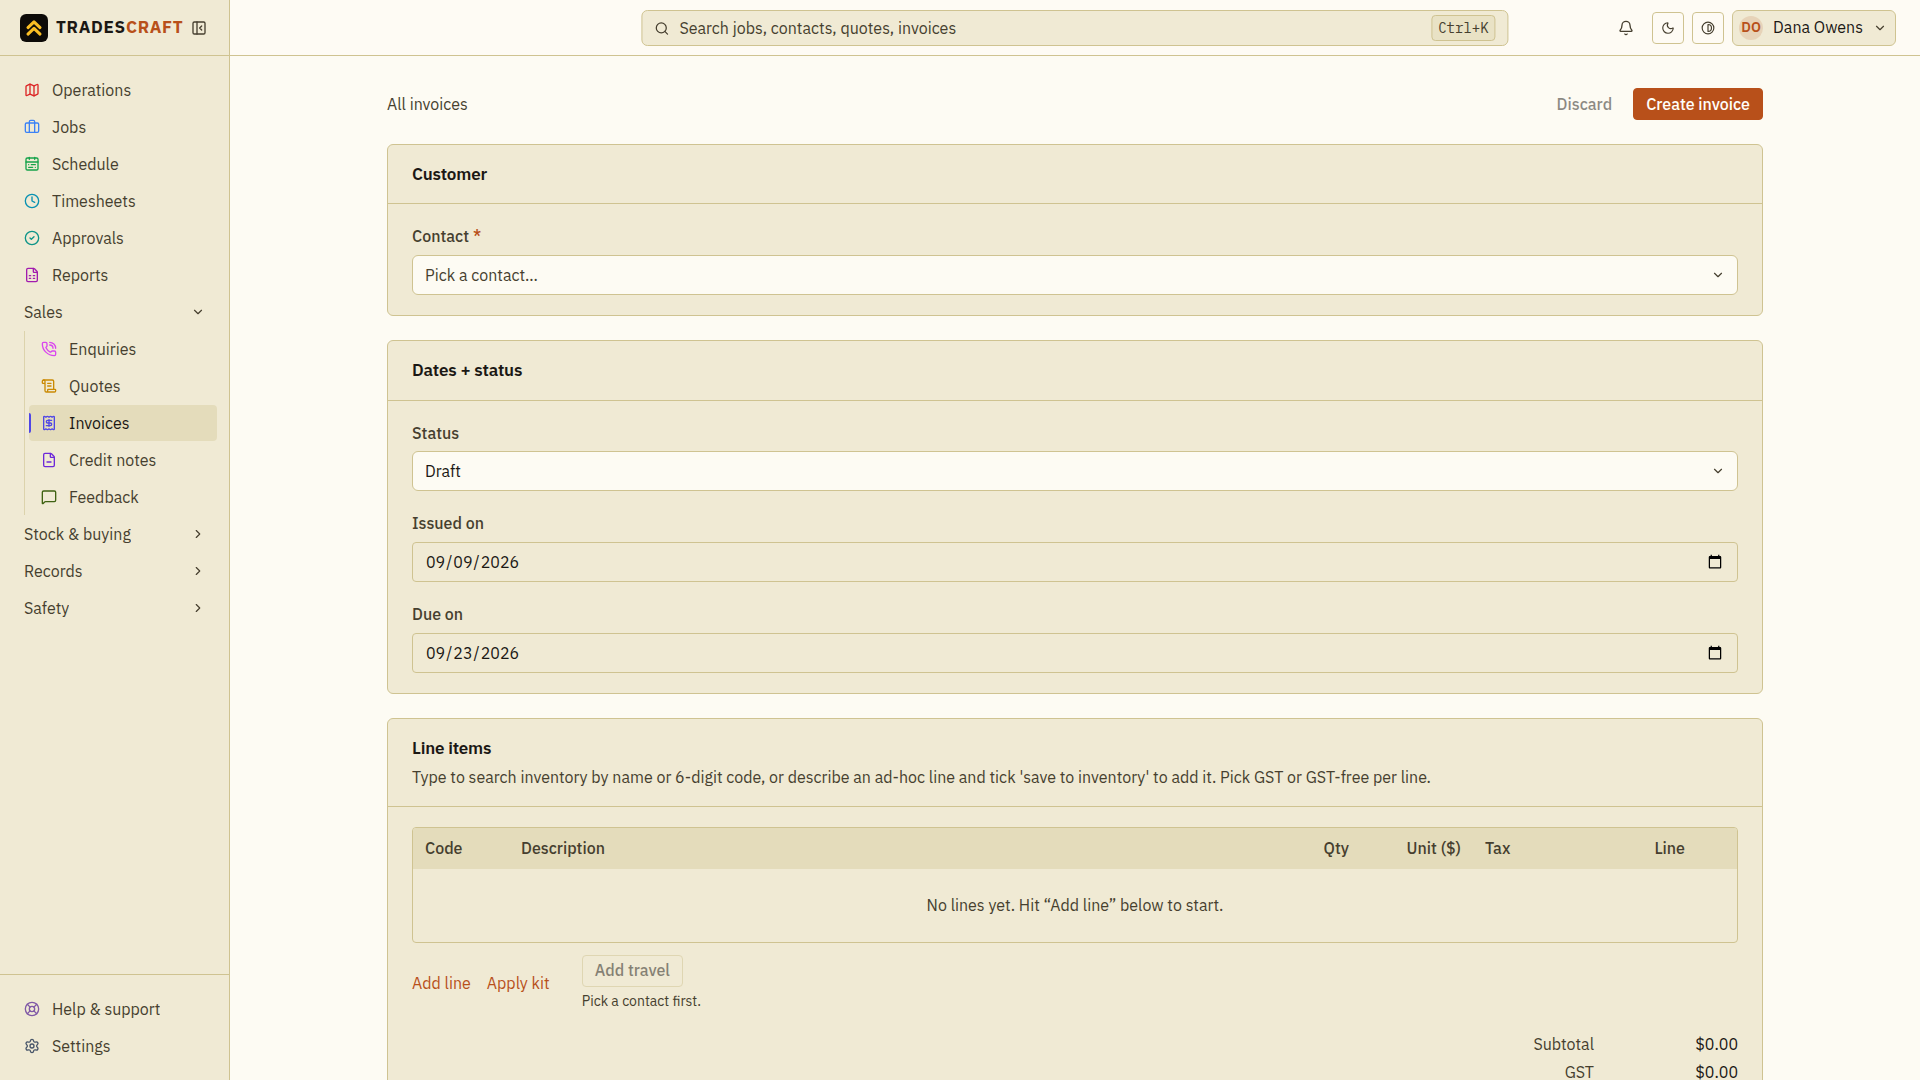
From Sales → Invoices, tap New invoice. The form has three sections: Customer, Dates + status and Line items.
Customer
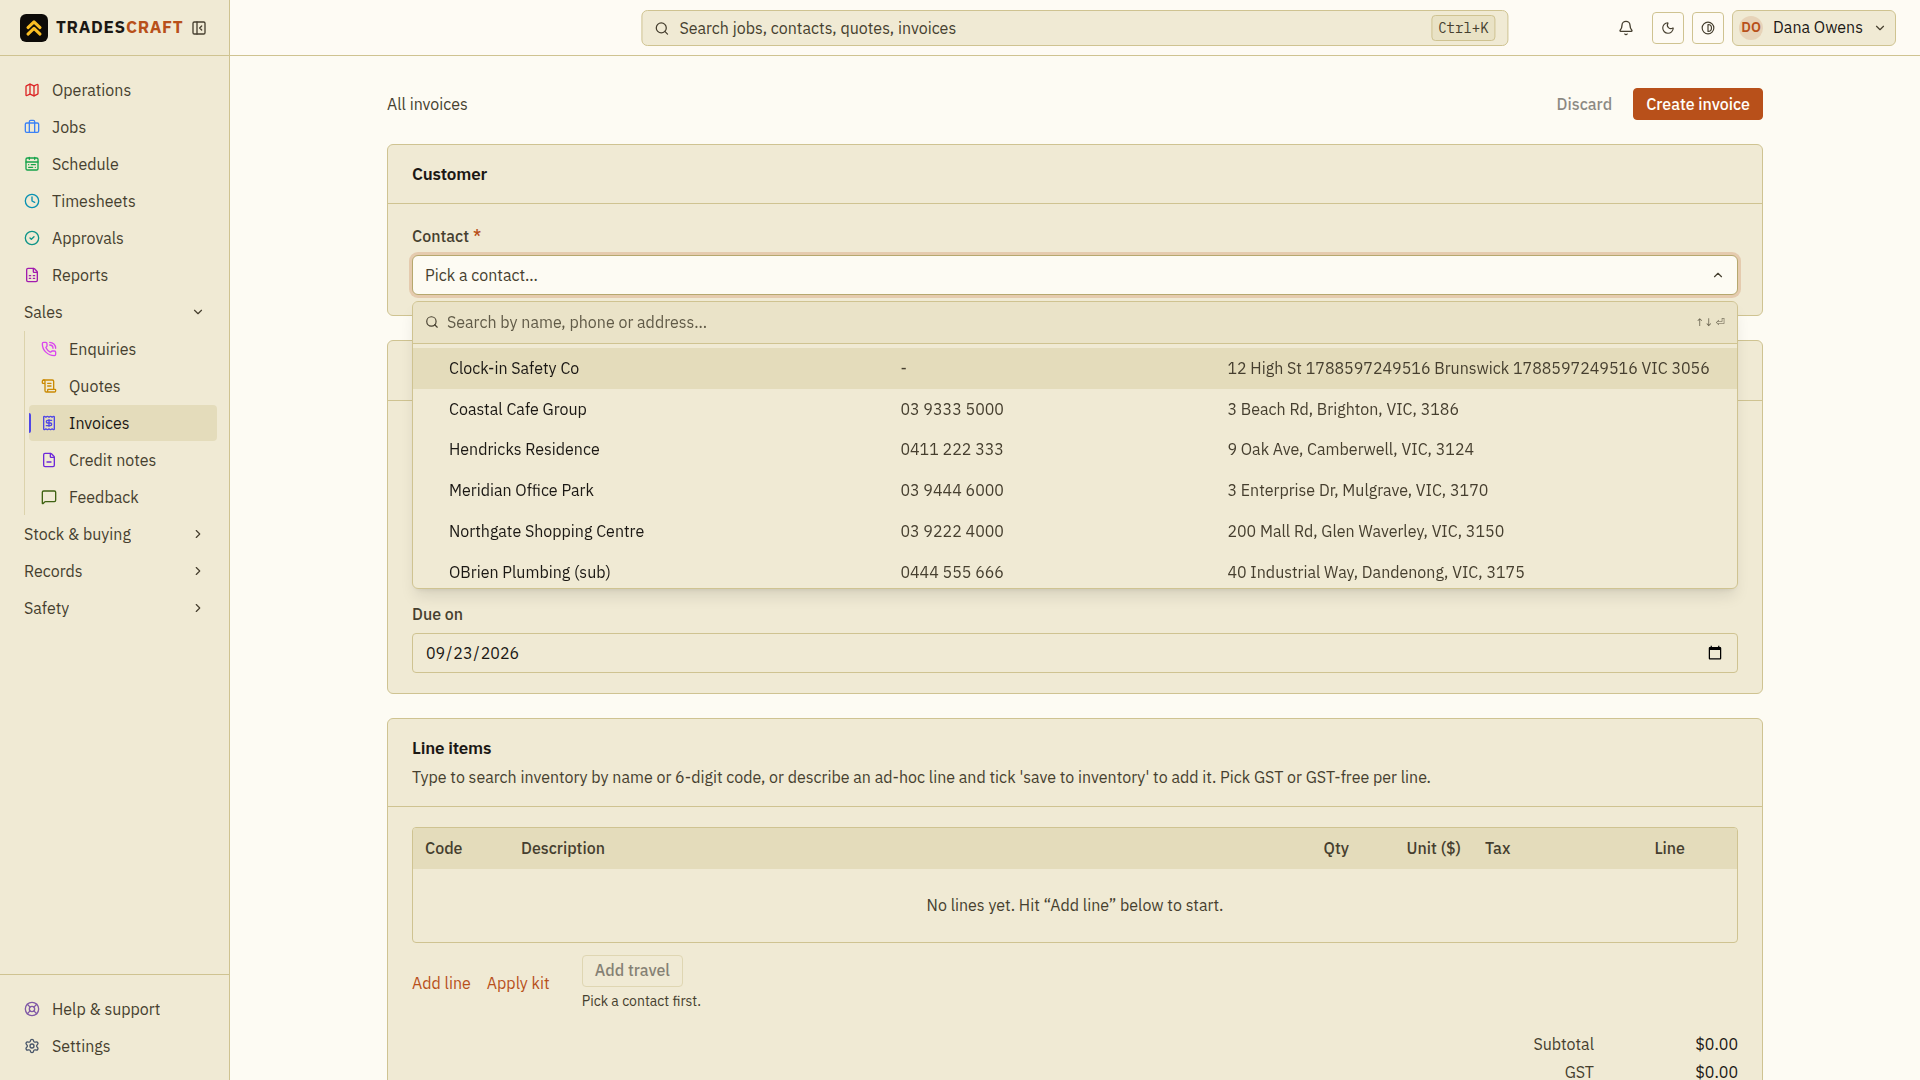
Tap Contact and pick the customer from the searchable list.
Dates + status
- Status - leave Draft while you prepare it. Saving a draft does not send it to the customer. See Step 5 when you are ready to issue it.
- Issued on - the invoice date; today is filled in to start with.
- Due on - the date payment is due. Check it matches the terms agreed with the customer.
Line items
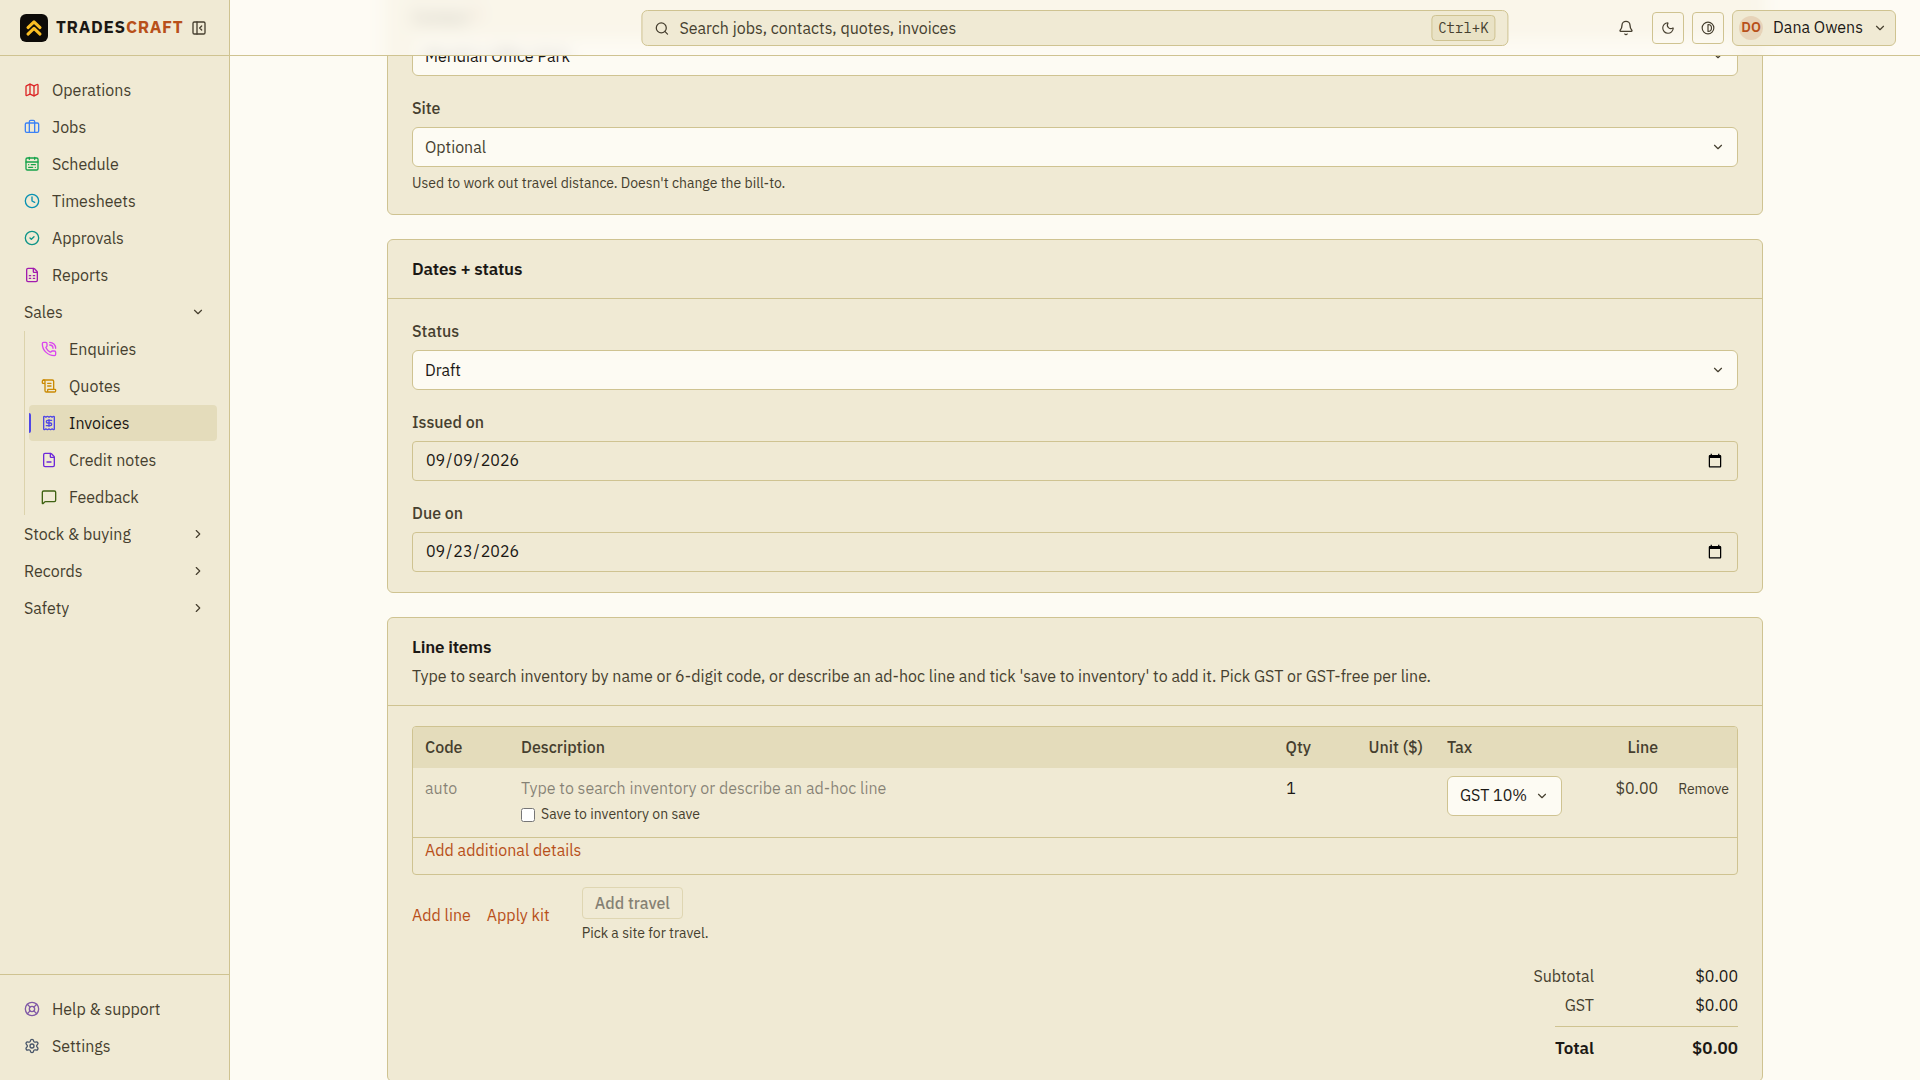
Tap Add line for each charge, such as labour or a part. Fill in:
- Description - what the customer is paying for. Search inventory by name or 6-digit code to choose a saved item, or type your own description.
- Qty - how many units you are charging for, such as hours or fittings.
- Unit ($) - the price of one unit before tax. For example, a quantity of 2 at $50 each is $100 before tax.
- Tax - the tax that applies to this charge. Australian and New Zealand accounts use GST (goods and services tax). US accounts choose Taxable, Exempt or Not subject to sales tax.
Repeat for the remaining charges. Apply kit adds a saved bundle of parts; Add travel adds a call-out charge. Check the Subtotal (before tax), tax and Total (including tax) as you go.
For a taxable US invoice, check the Combined sales tax rate for the customer's address and this work before saving. A state-wide rate may not include local tax. Saving keeps the rate you checked with this invoice.
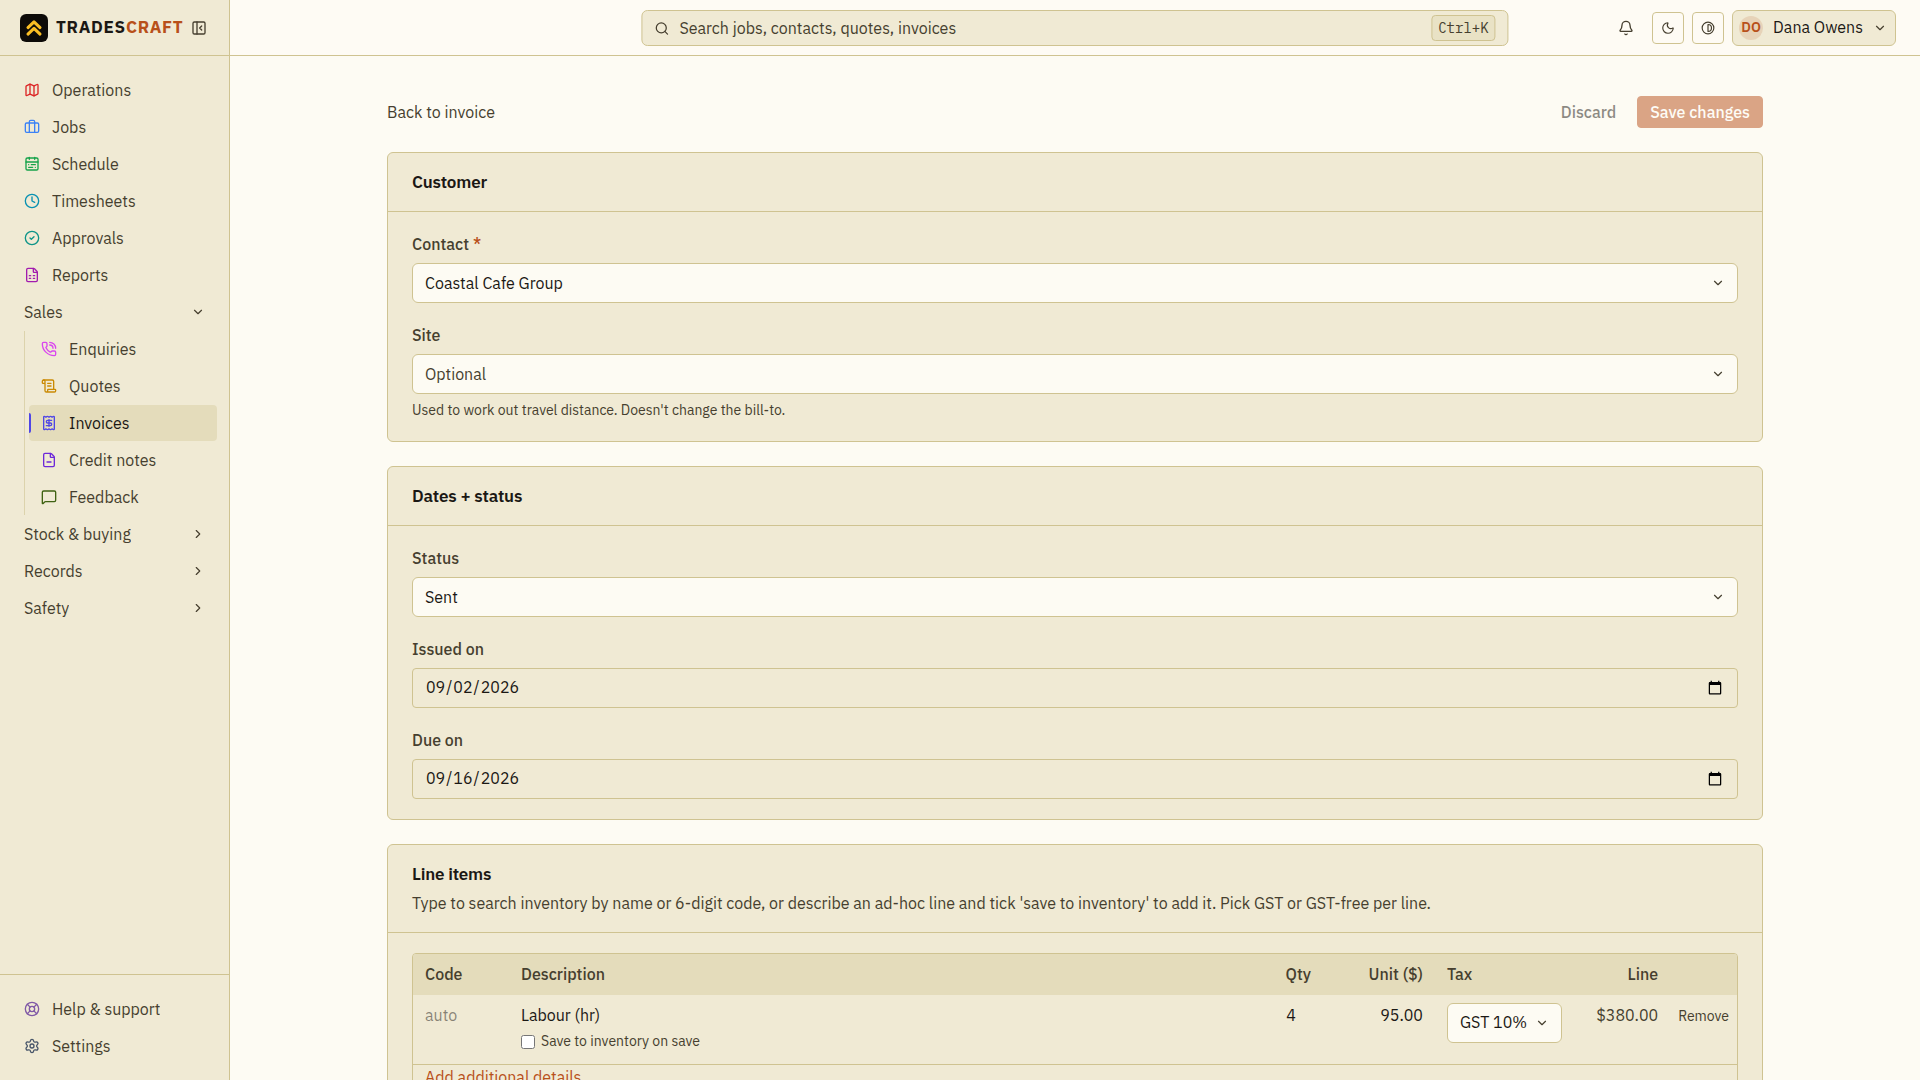
A completed invoice's lines look like this (from the edit view):
Save and send
- Tap Create invoice. On the saved invoice, check the customer, charges, due date and Outstanding (the amount still owed).
- Choose Email to contact, check the recipient and send the copy. Wait for the confirmation.
- For a draft, choose Mark as sent to issue the invoice. This is a separate action: emailing a copy does not change the invoice's status.
If the form shows an error, correct the highlighted field and save again. Do not start a second invoice to retry. See Invoice details for payment and balance checks.
Australian and New Zealand accounts can send invoice details to a connected Xero account. US accounts do not have Xero integration; they can use Stripe Payment Links to collect payments in US dollars.
Tips
- For staged work, raise progress claims on the job instead - each claim becomes its own invoice.